Nearly every RV will face a handful of recurring issues during its lifetime. From roof leaks and plumbing failures to electrical problems and worn-out tires, these common rv repairs show up across all types of rigs-and most of them are preventable. This guide breaks down what goes wrong, what it costs, and exactly how to stay ahead of trouble before your next adventure.
Key Takeaways
Almost every RV will encounter common rv problems like roof leaks, plumbing issues, electrical failures, and tire or brake wear, especially within the first 8 years of ownership. Regular inspections and maintenance help prevent common RV issues from turning into expensive repairs.
Routine preventative maintenance-roof inspections, battery checks, tire monitoring-dramatically reduces the risk of major repairs and mechanical breakdown on the road. Perform pre-trip inspections to ensure RV systems are functional before heading out.
Some rv repairs are DIY-friendly (replacing blown fuses, minor sealant touch-ups, swapping light bulbs), while others-deep electrical system faults, engine or transmission work-should go to a repair shop or mobile rv technician.
Addressing early warning signs like damp spots, flickering lights, uneven tire wear, or odd smells keeps your vehicle safe and ready for your next trip.
Understanding Common RV Systems Before Problems Start
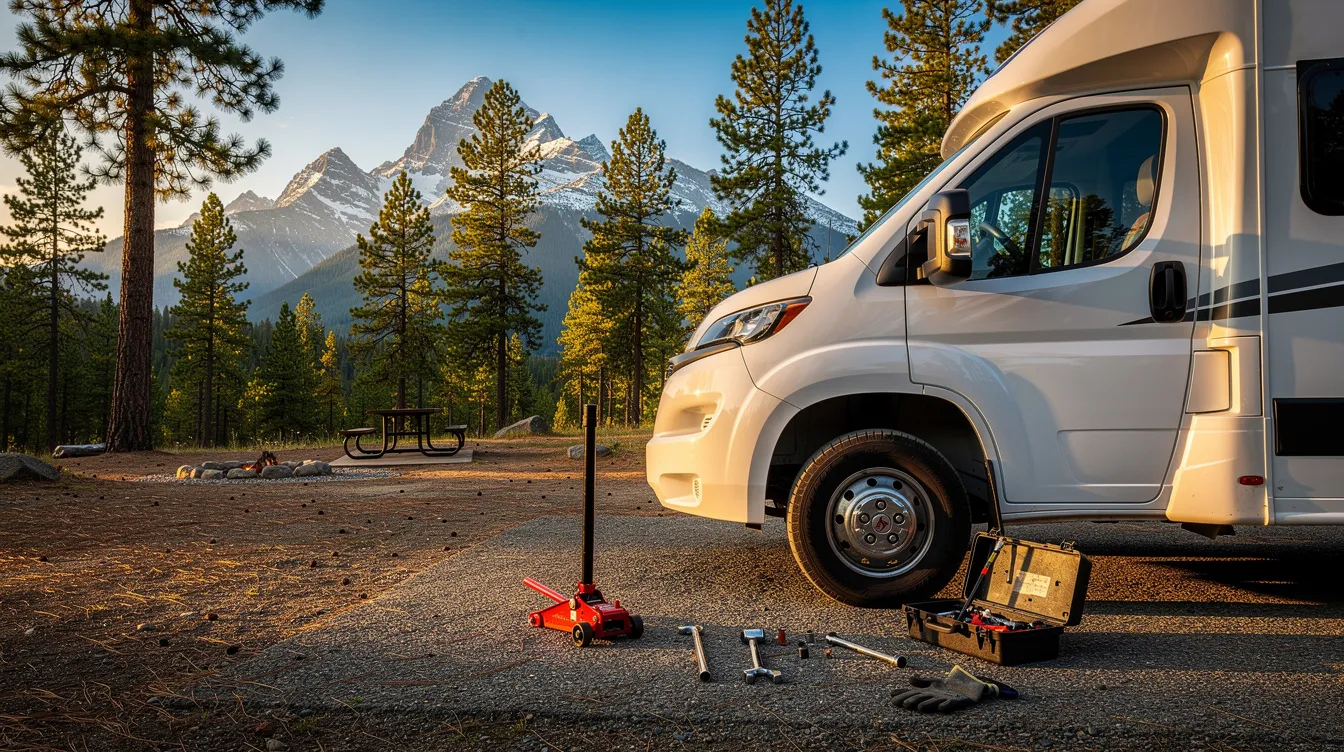
Knowing the basic layout of your RV-roof, electrical, plumbing, chassis-helps you recognize common rv problems before they escalate. Here’s a quick primer on the systems that need your attention most.
Electrical system (12V DC): A 12-volt system powers most RV components like lights and pumps, slide outs, fans, and control boards. The battery bank is the heart of this system.
Electrical system (120V AC): Shore power, a generator, or a power inverter feeds outlets, the microwave, and ac units. Converters change AC to DC; inverters do the reverse.
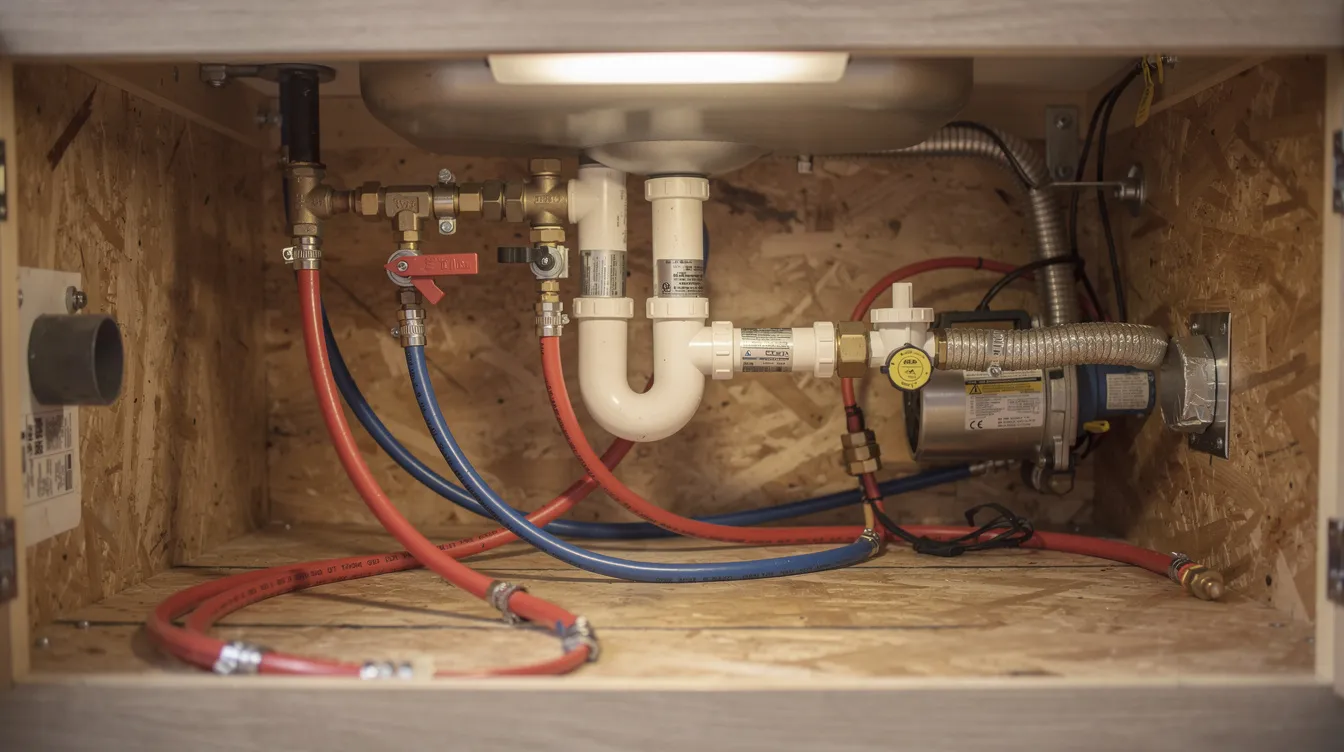
Plumbing system: Freshwater tank and water pump, city water hookup, water heater, plus grey and black tanks. Common leak points include fittings at the pump, hose connections, and tank outlets that connect to your sewer system.
Structural elements: The rv roof (EPDM, TPO, fiberglass), slide-out seals, windows, vents, awning mounts, and exterior sealant seams-all of which degrade from UV and weather exposure.
Running gear: Tires, wheel bearings, brakes, suspension (leaf springs, shocks, bushings), and hitch components. These are frequent wear and tear items on any RV. For example, a 2019 fifth wheel with a rubber membrane roof and tandem axles needs attention at every one of these points.
Roof Leaks and Water Intrusion: The Most Common RV Repair
A leaky roof is among the most common issues across all climates and RV types, from aging Class C motorhomes to newer travel trailers. Roof leaks from old seals can cause major water damage that spreads silently through walls and framing.
Typical causes:
Cracked lap sealant around vents and skylights-roughly 80% of rv roof leaks start at penetration points
Dried-out seams on EPDM or TPO membranes
Loose ladder or rack mounts and unsealed screw holes from aftermarket accessories
Spot trouble early: Look for brown stains on ceiling panels, soft spots around roof openings, or a musty odor after rain. Visible cracks in rv roof sealant during a ladder inspection, rust or corrosion on metal roofing, or sagging roof areas are immediate red flags. Regular roof inspections can catch leaks early, recommended every six months. Inspect roof seams and seals every 6 months to prevent moisture damage.
DIY fixes: Clean the affected area with mild detergent, then apply RV-specific sealant. Using products like Dicor sealant can effectively stop leaks on horizontal seams, while non-sag adhesive works on vertical surfaces. EternaBond tape covers long seams reliably. Sealant for roof repairs costs between $10 to $20 per tube.
When to call a pro: Widespread delamination, sagging roof structure, or leaks that have soaked insulation and wall cavities are not DIY territory. Water damage from roof leaks can lead to costly structural problems-a leaky roof can cost around $10,000 to replace on a large motorhome, with some replacements running $5,000–$20,000+ depending on size and damage.
Prevention: Inspect the roof at least every six months and before long trips. Reseal small cracks immediately, and consider how professional roof repair services handle leak detection and maintenance on residential roofs to guide your inspection habits. Cover or store your RV indoors over winter when possible to prevent leaks and UV degradation.
Plumbing Issues: Fresh, Grey, and Black Water Problems
Plumbing issues rank among the messiest and most stressful common rv problems, but many are preventable with basic habits and seasonal attention to your water systems.
Freshwater problems: Split water supply lines can lead to long-term damage in RVs, especially from freeze damage to PEX or PVC lines. Loose fittings at the water pump drip under pressure. A faulty water pump can cause leaks and cycling issues, and water pumps cost between $50 and $500 to replace. Using a city water pressure regulator helps avoid blown fittings in plumbing when hooked to campground water.
Black and grey tank troubles: Clogged toilets are caused by debris in the black water tank-often called “pyramid plugs” from using non-RV-safe paper. Dump valves may leak or drip when disconnecting the sewer hose. A leaking wastewater valve can be replaced easily from outside the RV by simply unbolting the old one. Cracked ABS fittings around tank outlets on your wastewater systems also cause trouble over time.
DIY solutions: Replace a leaking slide valve, tighten hose clamps, use RV-safe tank treatments, and back-flush tanks. Regularly flushing the black tank prevents sensor buildup and keeps your rv toilet sensors reading accurately.
Call a professional when: You face repeated water heater faults (water heaters can cost as much as $1,000 to replace), water pump replacements requiring difficult access, or suspected tank cracks needing plastic welding. Hot water system issues involving propane connections should always go to a certified tech.
Prevention: Winterize the plumbing system each fall if temps drop below freezing. Use a pressure regulator at city hookups. Do a start-of-season walkthrough-check every fitting, listen for drips, and sanitize your freshwater system annually.
Electrical Issues: 12-Volt and 120-Volt RV Electrical System Failures
Electrical issues are one of the top reasons rv owners call a mobile rv technician. Modern rvs rely heavily on both 12V DC and 120V AC power, and electrical problems can range from minor annoyances to safety hazards.
Common 12-volt problems: Electrical system failures often result from dead batteries or faulty wiring after storage. Corroded battery terminals, blown fuses for lights or the water pump, and loose ground connections cause flickering LEDs and sluggish slide outs. House batteries need regular maintenance to prevent failure. Battery terminals should be kept clean to prevent corrosion. Inspect batteries monthly to maintain optimal performance. Electrical issues often stem from blown fuses or loose connections-and replacing a blown fuse costs between $2 and $8.
Typical 120-volt problems: Tripped breakers after running multiple high-draw appliances on shore power (AC + microwave on the same leg), GFCI outlets that shut down an entire string of plugs, and power surges from campground pedestals damaging inverters or chargers. Ground fault indicators can shut off power to prevent electrical issues. Industry data shows low-voltage conditions account for about 35% of electrical failures, with loose connections at 25%, breaker fatigue at 20%, and surge damage at 20%.
Safe DIY troubleshooting: Check fuse and breaker panels, reset GFCI outlets in the galley or bathroom, clean battery posts, and use a basic multimeter to confirm shore power voltage.
Leave to professionals: Inverter/charger failures, solar controller wiring, melted or burned wiring, and any work inside the main 120V distribution panel. Electrical repairs are best handled by professionals for safety, especially involving electrical components carrying high voltage.
Prevention: Test batteries monthly, use a quality surge protector at hookups, tighten battery connections twice a year, and have a full electrical inspection done every 2–3 years.
HVAC and Appliance Problems: AC, Furnace, Fridge, and More
Comfort systems-air conditioners, furnaces, refrigerators, water heaters, and vent fans-represent a big chunk of common rv repairs. According to RV Help’s analysis of 12,000+ service requests, AC failures alone account for 17.4% of all calls.
Rooftop AC: Air conditioner filters and coils must be cleaned regularly to ensure performance. Dirty air filters can block airflow in RV ac units, leading to overheating and early failure. AC units last between three to ten years depending on usage. AC unit installation can cost around $1,500 for a new rooftop unit.
Furnace: A furnace that clicks but won’t ignite often has a bad igniter or propane supply issue. Replacing a furnace motor can cost upwards of $300. Annual professional combustion checks are strongly recommended for safety.
Refrigerator: Refrigerators in RVs typically last about 15 years, but fridges may fail due to a bad thermistor or blocked airflow. Absorption fridges must stay level during operation. Keep vents clear and burner assemblies clean.
Other appliances: Thermostat issues can prevent HVAC from responding to adjustments. Vent fans fail from motor wear. Microwave outages often trace back to tripped GFCI outlets. Water heaters that work on electric but not propane (or vice versa) are a common repair.
Prevention: Clean AC filters and fridge exterior vents at least once per season, test both electric and propane modes on the water heater monthly, and schedule professional service for any gas appliance that smells odd or burns with a yellow flame.
Tires, Brakes, Bearings, and Suspension: Wear Items That Become Major Repairs
Running gear isn’t glamorous, but it’s critical to safety. Common rv repairs often involve tire blowouts and plumbing leaks-and a tire failure at highway speed is among the most dangerous situations any RV owner can face.
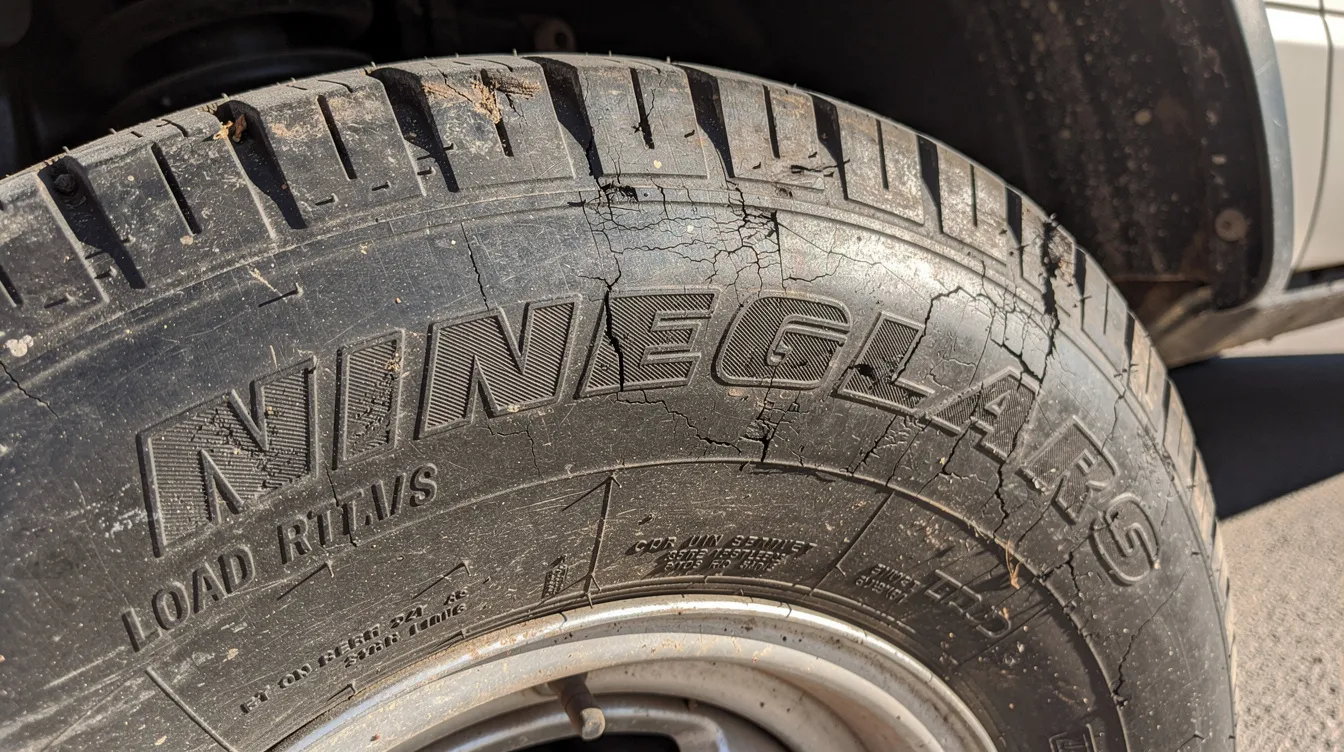
Tire problems: RV tires often fail due to underinflation and aging. Sidewall cracking from UV exposure and dry rot on RVs stored outdoors are leading causes. Tire pressure should be checked before every trip using a reliable gauge. Using a tire pressure monitoring system can prevent blowouts by providing real time alerts when air pressure drops. Changing RV tires is necessary every three to six years, regardless of tread depth-check the DOT date code to verify age.
Brakes and bearings: Squealing or grabbing brakes and bearings that haven’t been repacked in years risk wheel loss or axle damage. Brakes should be checked and replaced every year or 12,000 miles. Annual professional inspections for brakes and safety equipment are recommended.
Suspension: Worn leaf spring bushings, broken shackles on travel trailers, and sagging shocks on motorhomes cause poor handling and frame stress. Diesel engines in larger motorhomes put additional load on suspension components.
Prevention checklist: Inspect tires for cracks and tread before every trip, verify cold tire pressure, listen for grinding when braking, and look under the RV once a season for grease leaks. Repack trailer bearings every 10,000 miles or annually.
Slide-Outs, Seals, and Exterior Components
Slide outs and exterior seals add livable space, but they also create several of the most common issues owners encounter after a few seasons of regular use.
Slide-out problems: Rooms that move unevenly, stop mid-travel, or grind from debris on tracks. Low battery voltage, failed motors, or hydraulic leaks cause mechanical problems with extension and retraction.
Seal and window issues: Dried rubber around windows, cracked caulk around slide-out corners, and weeping sealant at clearance lights all lead to hidden wall damage over time.
DIY tasks: Lubricating slide seals, cleaning debris from slide roofs before retracting, replacing window or compartment door seals, and re-caulking accessible seams.
Call a pro: Slide rooms visibly out of square, hydraulic fluid on the ground, or slides that stop responding to controls entirely may call for a local mobile RV repair service in Marana, AZ.
Prevention: Operate slides on full battery charge or while plugged into shore power. Keep seals clean and conditioned twice a season. Visually inspect all exterior seams each spring and fall.
Preventative Maintenance Schedule to Avoid Common RV Repairs
Many of the most expensive repairs-roof replacement, bearing failure, electrical fires-start as small, fixable issues. A simple preventative maintenance checklist keeps your rig running smoothly and ready for your next adventure on the open road.
Pre-trip checklist:
Tire pressures and lug nuts
All lights (headlights, brake, turn, marker)
Water leaks around fittings
Test 12V and 120V systems
Quick roof visual from a ladder
Seasonal tasks (spring and fall):
Roof and sealant inspection
Battery testing and terminal cleaning
Flush and sanitize the freshwater system
Furnace and AC test runs
Re-lubricate slide-out mechanisms
Annual or mileage-based items:
Brake and bearing inspections
Engine and generator oil changes per manufacturer intervals
Coolant and transmission checks on motorhomes
Full safety inspection before long multi-state trips
Keep a maintenance log to track repairs and inspections for an RV-note dates, mileage, and generator hours. This helps spot patterns before they become costly repairs. A modest annual investment in diy maintenance and scheduled service saves thousands in emergency repairs and keeps your rv experience enjoyable rather than stressful. Stay ahead of trouble, and the long run rewards you with fewer surprises and more miles.
FAQ: Common Questions About RV Repairs
Here are quick answers to questions that frequently come up once owners start dealing with common rv repairs and regular maintenance.
How often should I have my RV professionally inspected?
A full professional inspection at least once every 12–24 months is recommended, or before any long multi-state trip, even if the RV seems in top shape. Older RVs (10+ years) or units stored outside year-round benefit from yearly inspections focused on the roof, frame, brakes, and electrical system. Regular inspections from a mobile RV repair service in Tucson catch problems like hidden water damage, worn bearings, and degraded wiring before they escalate.
Which RV repairs are safe for beginners to DIY?
Beginner-friendly tasks include replacing light bulbs and simple fuses, resealing small roof cracks with rv roof sealant, swapping vent fan covers, tightening loose cabinet hardware, and replacing water hoses or showerheads. You can also fix common rv problems like cleaning AC filters and replacing basic slide valve seals. Avoid DIY work on propane lines, high-voltage 120V wiring inside panels, and major structural or frame repairs-those belong with certified techs at a reputable repair shop.
How much should I budget annually for common RV repairs and maintenance?
For a typical towable or Class C used regularly, estimate an annual maintenance and repair budget in the $1,000–$2,500 range, depending on age, mileage, and storage conditions. This covers routine items like oil changes, roof sealant, and filters, plus setting aside savings for bigger items like tires, brake work, or an AC or fridge replacement that appliances eventually need. Water pumps cost between $50 and $500 to replace, so budgeting for the unexpected matters.
Is mobile RV repair better than going to a repair shop?
Mobile RV repair is more convenient for on-site fixes like electrical troubleshooting, roof resealing, and appliance repairs. A repair shop is better equipped for major repairs like engine work on diesel engines, suspension overhauls, or full roof replacement. If the RV is safe to move and needs heavy mechanical work, a shop visit makes sense. For campground electrical issues or a leaky roof seam, a mobile rv repair service in Tucson, AZ often saves time and eliminates towing hassle.
How do I know when a repair is urgent and I shouldn’t keep driving or camping?
Red flags include a soft or sagging floor, strong propane smell, repeated breaker trips with hot electrical smells, brake fade or grinding, tires with visible cords, or water pouring in during rain. In these cases, stop using the affected system immediately, disconnect power or propane if needed, and call a professional before continuing your trip. Ignoring these signs risks turning a manageable fix into one of the most expensive repairs-or worse, a safety emergency.