Whether you’re crossing the desert in July or parked lakeside in the humidity of August, air conditioning in your RV is what separates a good trip from a miserable one. Getting the right system – and keeping it running – isn’t complicated, but it does require knowing how RV air conditioners differ from the unit cooling your house back home.
Key Takeaways
Modern RV air conditioning relies primarily on rooftop units powered by either 30-amp or 50-amp shore power, or a generator when you’re off-grid. Most RV air conditioners are rooftop units that sit over a standard 14 x 14 inch roof opening, and correct sizing plus regular maintenance are the two biggest factors in long-term comfort and reliability.
RV air conditioners are available in 13,500 and 15,000 BTU sizes. Most travel trailers under 30 feet do well with 13,500 BTU; larger RVs may need more than one air conditioning unit, especially in warmer climates.
Ducted air systems distribute cool air through ceiling vents across the entire interior space, while non ducted units blow air from a single central point. The type you have affects how evenly your rig cools.
Low campground voltage and dirty filters are the most common causes of weak cooling – and both are easy to check before calling a technician.
Matching your ac unit’s power demand to your amp service is critical. Use a soft-start kit where needed, and always verify campground power quality before cranking the air conditioner.
Brands like Coleman Mach and Furrion air conditioners are industry standards, but the best rv air conditioner for your setup depends on fit, BTU rating, noise, and efficiency – not just the name on the plastic shroud.
How RV Air Conditioning Works (Quick Overview)
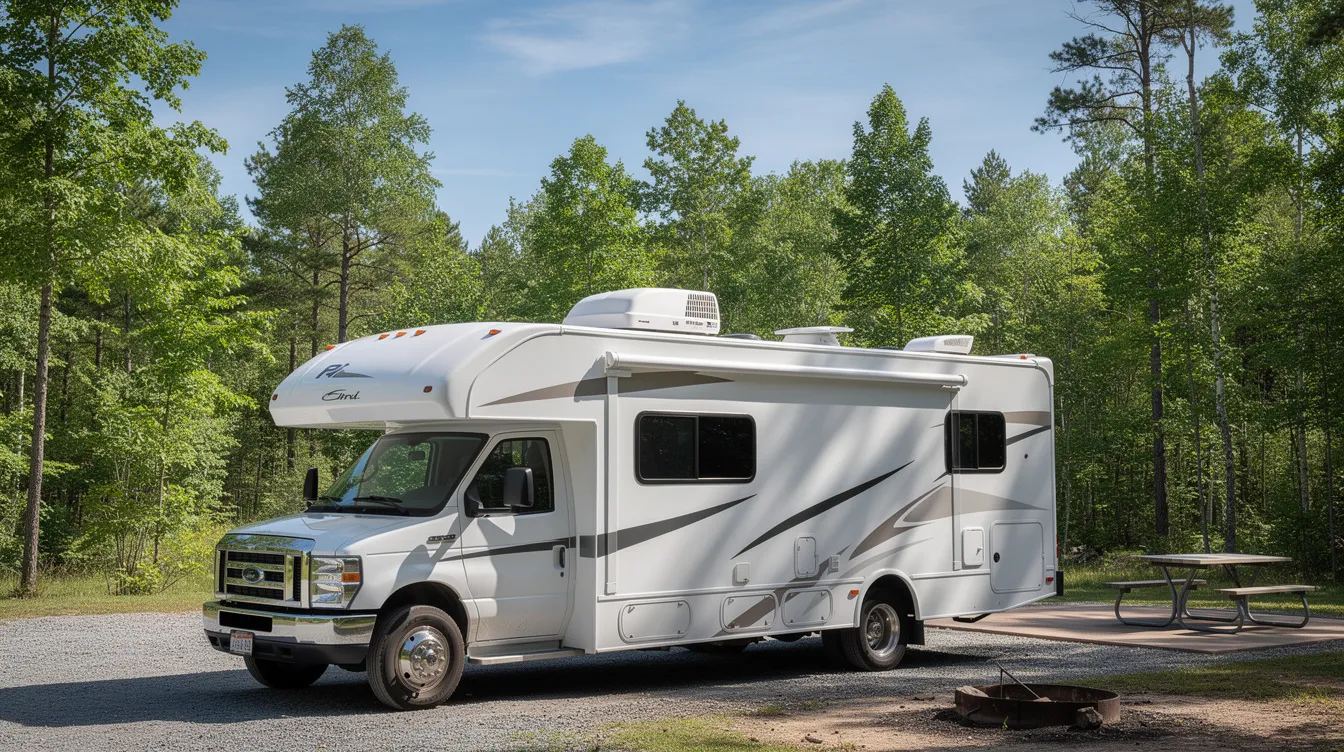
An RV air conditioner works like a miniature version of the system in your house. A compressor pressurizes refrigerant, which flows through a condenser coil on the roof where hot air is expelled, then through an evaporator coil inside the cabin where heat is absorbed from the interior air. A blower fan pushes the resulting cool air into your living space while pulling warm cabin air back through the return grille.
The components you’ll actually interact with include:
The rooftop ac unit itself, sitting under a protective shroud on the roof
An interior air distribution box or ceiling assembly with directional louvers
A thermostat (wall-mounted or built into the ceiling assembly)
Shore power hookup or a generator providing 120V AC electricity
Some rooftop units are “cool only,” while others include a heat pump that can reverse the refrigeration cycle to provide heat during spring and fall shoulder seasons. Most modern RVs built from about 2005 onward come pre-cut with a standard 14 x 14 inch roof opening that fits rooftop units from Coleman Mach, Furrion, Dometic, and others – making replacement largely a drop-in job.
One thing to remember: RV insulation is thin compared with a house. That means correct sizing, vent management, shade, and even parking orientation matter far more for comfort than they would in a brick-and-mortar home.
Choosing the Best RV Air Conditioner for Your Rig
There is no single best rv air conditioner for every situation. Different RV types may require different AC systems to operate effectively, and choosing an air conditioning system for your RV depends on multiple factors: size, layout, climate, and electrical setup.
Cooling capacity is measured in BTU for RV air conditioners. Here’s how to size rv air conditioner capacity to your rig:
A 13,500 BTU unit suits RVs up to 32 feet in moderate climates, making it the go-to for most travel trailers and smaller fifth wheels.
A 15,000 BTU unit is recommended for hot climates – longer rigs, bunkhouses, or anyone regularly camping in 90–100°F summers. The Coleman Mach 15 is recommended for desert use, while the Dometic FreshJet 3 is suitable for Gulf Coast summers.
RVs over 35 feet often require two AC units or a ducted system for even cooling capacity across the full interior space.
Calculating the cooling capacity in BTUs is crucial for matching RV size, but also consider:
Noise: Decibel ratings vary; some units claim quiet operation under 50 dB, but real-world measurements are often 10–20 dB higher.
Efficiency: Look for published EER/CEER ratings where available.
Compatibility: Confirm the new unit fits your existing roof opening, thermostat, and air distribution box – and whether it supports your ducted or non ducted setup.
Profile: Low-profile units are designed for better clearance and reduced drag, sitting around 11–12 inches tall versus 14–15 inches for standard rooftop units.
Ducted vs Non-Ducted RV Air Conditioning
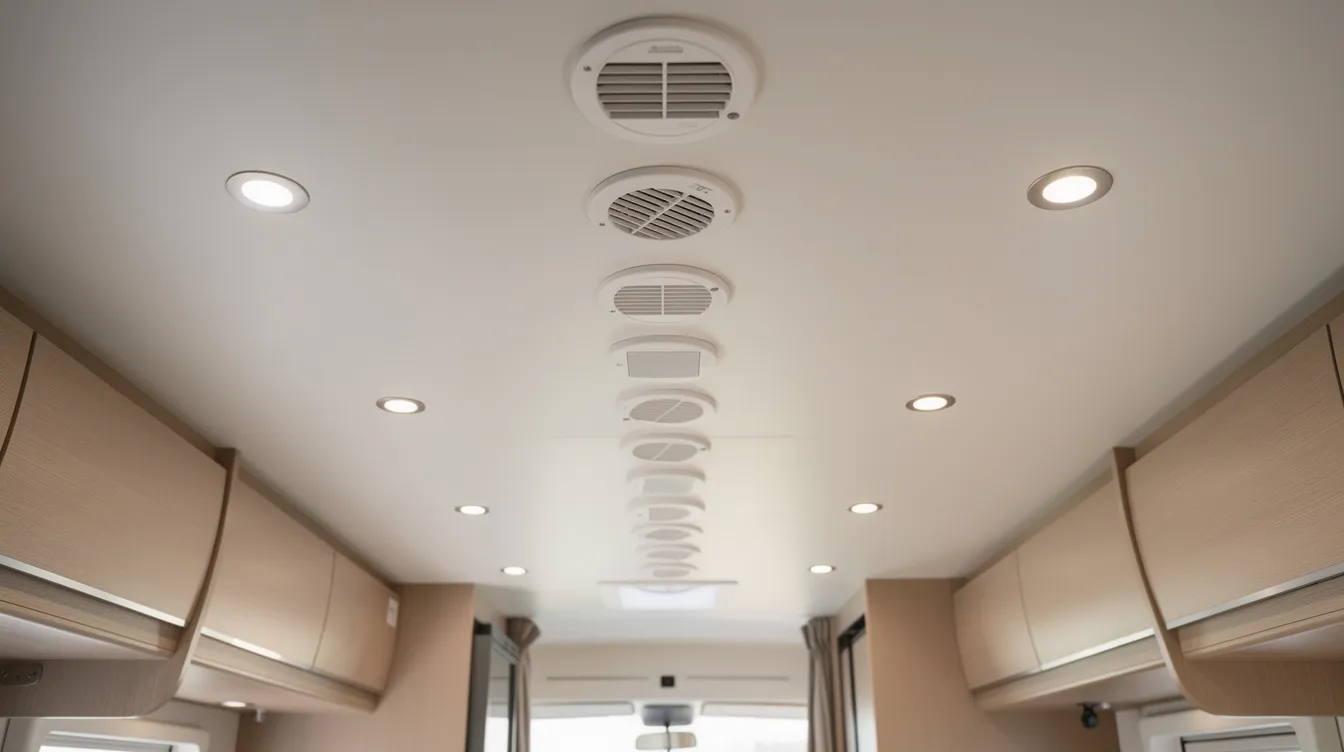
RVs typically use one of two air distribution methods: ducted air systems with hidden channels in the ceiling, or non-ducted systems where chilled air blows directly from the ceiling assembly beneath the rooftop unit.
Non-ducted systems are common in trailers under 28 feet. They’re simpler – a single-zone setup with a central air distribution box and directional louvers. Installation and replacement are straightforward, but cooling strength drops off in rooms far from the unit.
Ducted systems are standard on larger RVs like Class A motorhomes and many fifth wheels. Ducted units push air through interior ductwork to multiple vents, and ducted systems provide even cooling across larger spaces – the bedroom, living area, and bathroom all receive airflow. Some higher-end rigs offer dual-zone control.
Non-ducted units blow air directly into one zone, which can feel stronger right under the ac but may leave far corners warm. If you’re upgrading, match the replacement to your existing configuration. Conversion kits exist if you’re renovating from non ducted to ducted, but they add labor and cost. Portable air conditioners are temporary and budget-friendly options for supplemental cooling but can’t replace a properly sized rooftop air conditioner.
Power, Amp Service & Running AC Units Safely
Power limitations are among the most common causes of rv ac problems and tripped breakers, especially at older campgrounds. Air conditioning systems can be affected by the electrical setup of the RV, so understanding your amp service is essential.
30-amp service supports one rooftop ac unit plus light loads (a few lights, the refrigerator, phone chargers). Total continuous wattage is about 3,600W.
50-amp service provides two 120V hot legs, enough to run two ac units and higher-draw appliances like a microwave or electric water heater simultaneously.
A single 13,500 BTU unit typically draws about 12–14 amps running, with startup surges hitting 40 amps or more. A 15,000 BTU unit may spike to 50+ amps at startup. Running two rooftop units together almost always requires 50-amp service.
Weak cooling can result from dirty filters and low campground voltage. Use a quality surge protector or EMS and a voltmeter to confirm the pedestal stays in the 108–132V safe range. Sustained low voltage can overheat the compressor and shorten the unit’s life.
Soft start kits reduce startup current by up to 75%, making them a practical upgrade for boondockers using an inverter generator or anyone connected to a marginal 30-amp pedestal. Additionally, 12V DC inverter air conditioners run directly off a lithium battery bank, offering a power alternative for off-grid camping without needing a generator at all.
Installing or Replacing an RV AC Unit
Many owners can replace a rooftop air conditioner themselves with basic tools. That said, you’re working on the roof with 80–100+ pound equipment and 120V wiring – if you’re unsure, hire a qualified RV technician.
High-level steps for a typical replacement:
Disconnect shore power and turn off breakers.
Remove the interior air distribution box or ceiling assembly.
Unbolt the old rooftop unit and carefully lift it off the 14 x 14 roof opening (use at least two people and a stable ladder).
Inspect and replace the foam rubber gasket between the ac unit and the roof.
Set the new unit in place, secure bolts, and reconnect wiring per the manufacturer’s manual.
Before ordering, confirm compatibility: the new unit’s bolt pattern must match the roof opening, and you’ll need to verify whether your existing thermostat and control board can be reused or if a new control kit is required. For ducted replacements, align the new unit with existing duct channels. For non ducted units, ensure the new air distribution box provides adequate airflow.
Weight matters – rooftop units commonly weigh 80–100 pounds. Never try to install or replace one solo. A helper on the roof and a helper on the ladder is the safe minimum.
Routine RV Air Conditioner Maintenance
Performing routine maintenance every six months for optimal performance can dramatically extend the lifespan of an RV air conditioning system. Routine maintenance extends the lifespan of an RV air conditioning system and prevents mid-trip breakdowns. Here’s what to keep on your schedule.
Tools you’ll need: sturdy ladder, flashlight, Phillips and flat screwdrivers, soft-bristle brush, shop vacuum, mild detergent, and a fin comb.
Air filters should be cleaned or replaced regularly to maintain efficiency. During heavy use in summer, remove the return-air filters from the air distribution box and wash them in warm soapy water every two weeks. At minimum, clean or replace the air filter every six months. A clogged filter is the single most common reason an rv ac underperforms.
Inspect the AC cover for cracks and damage biannually. Check the rooftop plastic shroud for UV damage, missing screws, and any gaps that could let rain or debris into the unit. If you store your vehicle over winter, verify that any seasonal cover is intact.
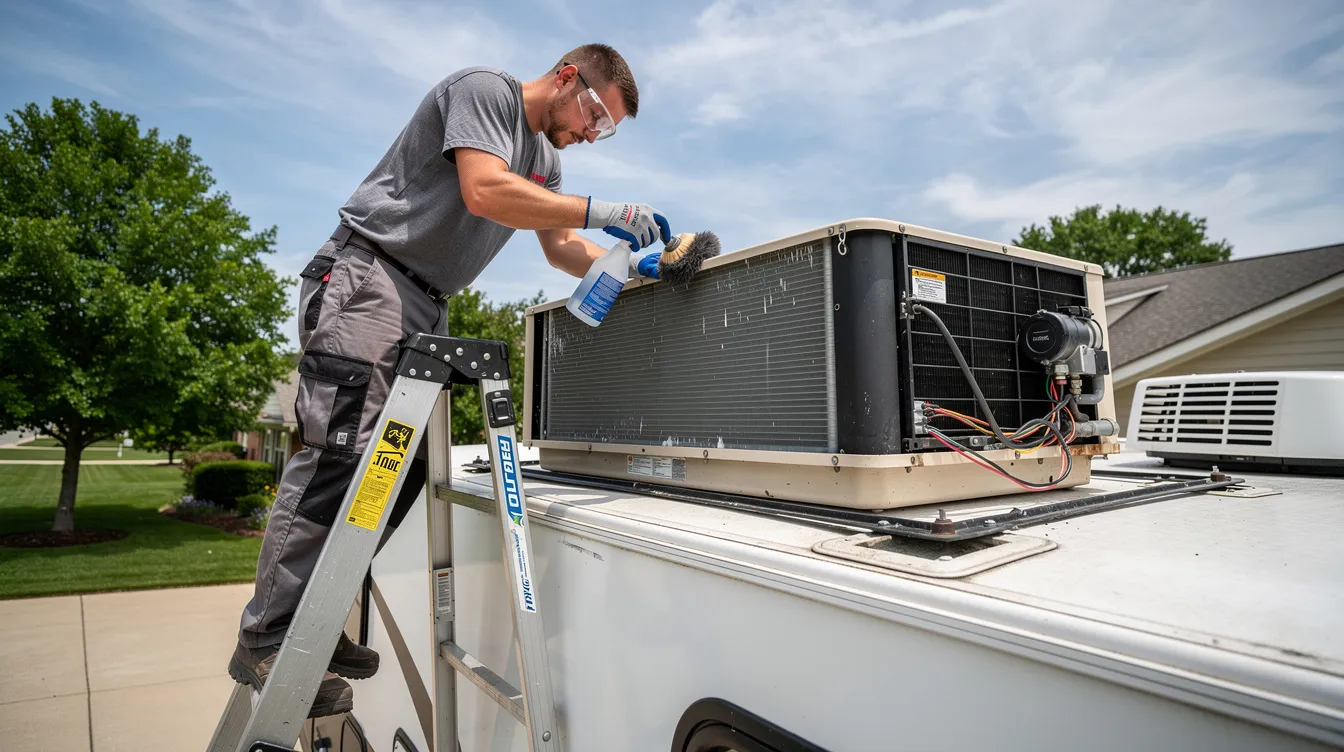
Clean condenser coils monthly during heavy use. Remove the shroud, gently vacuum leaves and dirt, spray an approved coil cleaner on both the condenser and evaporator coil, rinse carefully, and use a fin comb to straighten any bent aluminum fins. Inspecting and cleaning the coils is part of RV air conditioning maintenance that directly impacts performance. Clean the AC coils to maintain optimal airflow and efficiency each season.
Inspect the seal between the AC unit and the RV roof regularly. The foam rubber gasket should rebound when pressed; if it stays compressed or shows cracks, replace it immediately. Maintaining airflow and preventing water intrusion are key to RV AC maintenance – a failed gasket can send water straight into your ceiling.
Troubleshooting Common RV Air Conditioning Problems
Most cooling failures trace back to a small set of common causes: power issues, restricted airflow, or component failure. Before calling a technician, you can test several things yourself.
Symptoms and quick checks:
Symptom | Likely Cause | First Step |
|---|---|---|
AC won’t turn on | Tripped breaker, low voltage, thermostat setting | Check breakers, verify pedestal voltage |
Fan runs, no cold air | Frozen evaporator coil, failed capacitor | Check filter, look for ice on coil |
Short-cycling or warm air on hot days | Overloaded circuit, high ambient temp | Reduce other loads, shade the rig |
Water dripping inside | Blocked condensate drain, frozen coil | Shut unit off, let ice melt, clean drain |
Common issues include clogged filters and capacitor failures that affect cooling. A healthy rooftop ac unit should produce a 15–20°F temperature drop between return and supply air – if it’s under 10°F, something is wrong. |
Run a simple airflow test: confirm all supply and return vents are open, interior doors aren’t blocking ducted air paths, and the air distribution box isn’t leaking chilled air into the ceiling cavity instead of the room.
Frozen evaporator coils are caused by restricted airflow or low fan speeds. Shut the compressor off, run the fan only until ice melts, then clean the filter and coils before restarting.
Call a technician for persistent breaker trips after power checks, signs of burned wiring, oily residue on coils (indicating a refrigerant leak), or if the unit is over 12–15 years old and no longer delivers adequate cooling despite clean coils and good power. If you’re in southern Arizona, a mobile RV repair service in Tucson can diagnose and repair these issues on-site so you’re not stuck at a campsite or storage lot.
Comfort Tips: Getting the Most From Your RV AC
Even the best rv air conditioner struggles if the rig bakes in direct sun all afternoon. Small changes in how you camp can significantly improve comfort and reduce how many several hours the compressor runs continuously.
Park with your awning side facing afternoon sun. Use reflective window covers on large front and side windows, and close blinds during peak heat – typically 2–6 p.m. in summer.
Manage interior airflow with small 12V fans to push cool air toward loft beds, bunk rooms, or the floor level where you actually sit. In non ducted setups, keep interior doors open so air can circulate. In ducted systems, partially close vents in already-cold zones to push more airflow to warmer areas.
Set your thermostat to 72–78°F rather than trying to hit 68°F when it’s 100°F outside. Trying to rv cool the cabin to house-like temperatures in extreme heat leads to constant running and possible freeze-ups.
On scorching days – think Arizona, Texas, or the Gulf Coast – start the ac early in the morning before the interior heat-soaks. Cooling a 100°F cabin at 4 p.m. after a long hike is far harder than maintaining 76°F from sunrise.
Reducing humidity inside helps too: run the bathroom exhaust fan when showering, and avoid boiling water with lids off.
Heat Pump, Electric Heat Strips & Other Heating Options
Many rooftop air conditioners include a heat pump or electric heat strips, giving you shoulder-season heating without firing up the propane furnace.
A rooftop heat pump reverses the refrigeration cycle to move outdoor heat inside. It works efficiently in mild cold – roughly 40–55°F – making it ideal for spring and fall camping. Below freezing, efficiency drops sharply and you’ll still need your furnace.
Electric heat strips are simple resistance heaters installed inside some air distribution boxes. They provide modest supplemental warmth when you’re connected to shore power but usually cannot replace a furnace in truly cold weather. They blow light warm air rather than the intense heat a propane system delivers.
In tall fifth wheels, under-bench or basement-mounted heat pump systems can improve comfort because warm air starts closer to the floor and naturally rises through the space.
When shopping for your next ac unit, think about your typical camping season. Shoulder-season trips in the Pacific Northwest benefit from a heat pump feature. Full-winter camping in the Rockies still demands a dedicated furnace system for reliable heat.
FAQ: RV Air Conditioning
Below are answers to common questions about rv air conditioners that weren’t fully covered above.
Can I run my RV air conditioner while driving?
Many owners run the rooftop air conditioner from the generator while driving, especially in Class A and Class C motorhomes. This is generally safe as long as the generator is rated for the AC load and properly maintained. Most factory-installed rv ac units are 120V and need either shore power or a generator – they won’t run from the vehicle’s 12V alternator alone, and drivers in the desert heat often rely on Tucson mobile RV AC repair to keep systems running safely.
If you’re considering this, verify your generator’s output in watts against the startup and running requirements of your specific unit. A 15,000 BTU rooftop air conditioner may need 2,800–3,000 watts at startup and 1,300–1,600 watts running, so a generator rated under 3,000 watts could struggle without a soft-start kit installed.
How many years should an RV rooftop AC last?
With regular maintenance – clean filters, annual coil cleaning, and periodic gasket inspections – most rooftop air conditioners last around 10–15 years under typical North American camping conditions.
Common failure points include capacitors, fan motors, and control boards rather than the compressor itself. These parts are often serviceable without a full replacement. However, if your unit is over 12 years old, struggles to cool despite maintenance, and replacement parts are becoming hard to find, upgrading to a newer low profile model usually makes more financial sense than continued repairs.
Is a low-profile RV AC unit worth it?
Low-profile rooftop air conditioners create less aerodynamic drag on the highway, which can slightly improve fuel efficiency and reduce wind noise – a real benefit on taller fifth wheels and larger rvs. Units like the Coleman-Mach Mach 10 series stand around 11–12 inches tall compared with 14–15 inches for standard units.
Low profile designs also help your rig fit under lower tree branches and older storage doors. However, don’t assume “low profile” automatically means better performance. Compare BTU ratings, noise levels, weight, and user reviews before buying. Some compact units use smaller internal components that may affect airflow patterns or cooling capacity compared with their taller counterparts.
Why does my RV AC keep freezing up?
Evaporator freeze-up is usually caused by poor airflow – dirty filters, blocked vents, or a fan running at too low a speed – or by running the thermostat too low in conditions with very low indoor humidity, which keeps the compressor cycling without pause.
To fix it: shut the unit off and let the ice melt completely (run the fan only on high to speed this up). Then clean filters and coils thoroughly, ensure all vents are open, and raise the set temperature a few degrees during the hottest part of the day to give the system breathing room.
Low refrigerant from a leak can also cause freezing, but this requires a qualified technician to diagnose and repair. Do not attempt to recharge a sealed RV unit yourself.
Can I replace just the ceiling air distribution box without changing the rooftop unit?
In most rvs, the interior air distribution box or ceiling assembly can be replaced independently – for example, to update controls, add LED light panels, or replace a cracked housing. The key is compatibility: locate the model and serial number on your existing rooftop unit before ordering, since ceiling assemblies and shrouds are often specific to particular product series and generations.
Swapping to a different brand’s air distribution box may require a matching control kit or thermostat adapter, so it’s usually simplest to stay within the same product family. If you’re switching from a Coleman Mach to a Furrion rooftop unit (or vice versa), plan on replacing both the rooftop and interior components together for a clean install, or consider using a mobile RV technician in Marana, AZ if you’re not comfortable handling the electrical work yourself.