
Wherever the road takes you this summer, your RV air conditioner is the one piece of equipment standing between a relaxing trip and a miserable, sweat-soaked night in a parking lot. Whether you’re replacing a tired rooftop unit, purchasing your first rig, or just trying to understand why your AC never seems cold enough, this guide covers everything RV owners need to know about selecting, installing, and maintaining an RV AC that actually works.
Key Takeaways
RV air conditioners are purpose-built, rooftop-mounted air conditioning systems engineered to fit standard 14″–14.25″ roof openings and operate on 120V power. Unlike residential or portable units, they’re designed to handle highway vibration, rain, UV exposure, and limited electrical service. Correct sizing, installation, and airflow matter far more than headline BTU numbers for real-world comfort.
Most modern RV air conditioners for model years 2024–2026 are available in capacities from 13,500 to 18,000 BTU, with options for cooling-only units, heat pump models, and systems compatible with both ducted and non ducted setups. Emerging inverter and variable-speed compressors are gaining market share for their efficiency and quieter operation.
RV owners in hot climates-Arizona, the Texas Gulf Coast, Florida, and southern Nevada-typically need at least a 15,000 BTU rooftop unit, and sometimes two units, to deliver reliable cool air in 95–110°F conditions. Rigs over 35 feet or those with heavy sun exposure may need 18,000 BTU or dual-unit configurations.
Poor cooling performance is often caused by airflow restrictions such as dirty filters, clogged condenser coils, or leaky ducts rather than a failing compressor. A few straightforward maintenance tasks can make a significant difference in air conditioning comfort without replacing the entire unit.
Picking the right RV AC also means checking electrical service (30 amp vs 50 amp), roof thickness, ceiling assemblies, and whether the rig is wired for ducted or non ducted air conditioners before purchasing any new unit.
What Is an RV AC and How Does It Work?
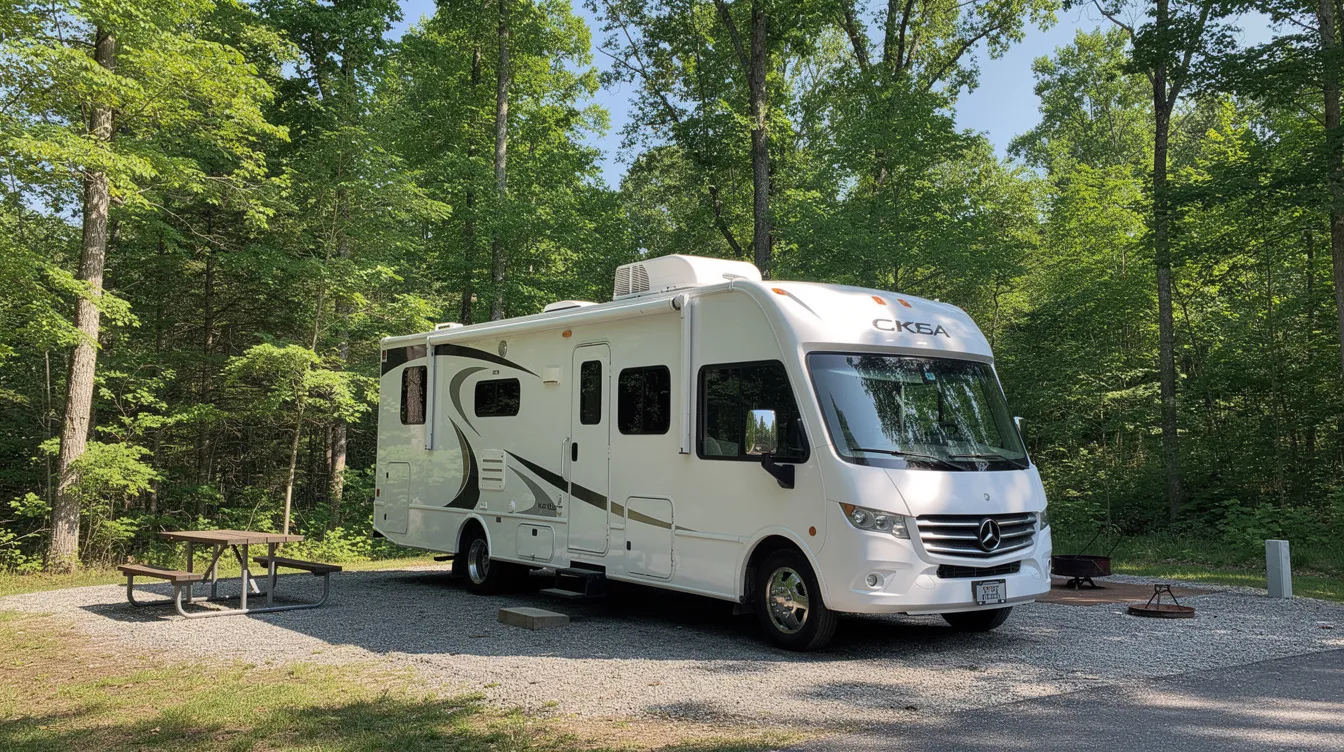
An RV air conditioner is a compact, self-contained air conditioning system specifically engineered for recreational vehicles. Unlike a residential window unit or a portable floor model, an RV AC mounts directly into a standard roof opening, sealed against weather, vibration, and highway speeds. Rooftop units free up valuable interior living and storage space-a benefit that matters in a vehicle where every square foot counts.
Most RV rooftop air conditioners use a 115/120V AC power supply and share a common set of components:
A compressor that pumps refrigerant through the system
An evaporator coil that absorbs heat from the interior air
A condenser coil and fan(s) that reject that heat to the outside
A control board and thermostat for temperature regulation
A ceiling assembly or plenum that distributes cool air downward
The system works by pulling warm interior air upward through a return grille, passing it over the cold evaporator coil, and pushing the cooled air back down into the RV through ceiling vents or a central grille.
RV air conditioning differs from home HVAC in several key ways. RVs operate on limited amperage (30 or 50 amp shore power), use smaller or no ductwork, and the rooftop unit must endure constant exposure to rain, UV, and road vibration. Common brands across North America between 2020 and 2026 include Coleman Mach, Dometic, RecPro, Furrion, and newer inverter-focused brands like Fogatti and TURBRO.
Some RV owners explore alternative cooling technologies worth mentioning for context. Under-bench air conditioners keep heavy mechanical weight low to improve center of gravity, making them popular in certain van conversions. Evaporative coolers consume less electricity but rely on dry climates to function effectively, limiting their usefulness in humid regions. Mini-split systems offer near-silent operation and superior energy efficiency, though they require more involved installation and are less common in standard RVs.
Types of RV Air Conditioners (Cooling-Only vs Heat Pumps)
Not all RV air conditioners are the same. Some provide only cool air, while others integrate heat strips or full heat pump capability for shoulder-season camping. The type you choose should match your travel patterns, climate, and power setup.
Cooling-only RV AC units are the simplest and most common. They’re available in BTU ranges from roughly 13,500 to 18,000 and focus exclusively on refrigeration cooling. Many desert campers prefer cooling-only models because they avoid the internal restrictions of heat pump hardware and deliver maximum cooling capacity in warmer climates. If your summer travel stays in the southern half of the U.S. and you have a propane furnace for cold mornings, cooling-only is often the most efficient choice.
Heat pump models add a reversing valve that allows the refrigerant cycle to run in reverse: instead of just removing heat from interior air, the system can pull heat from outdoor air and deliver it inside. Heat pump AC units can provide heating in cool weather, typically down to ambient temperatures of about 40–45°F. Below that threshold, efficiency drops sharply, and a propane furnace becomes necessary. Furrion’s heat pump units, for example, are rated effective to roughly 40–45°F-helpful for fall camping, less so for a January stay in Colorado.
PTC or electric heat strips are auxiliary heating elements built into some units. They supplement a heat pump for cool spring or fall mornings but draw substantial current and are not a replacement for a furnace in freezing weather.
When should you pick each type?
Full-time RVers crossing varied climates benefit from heat pump models for flexibility
Snowbirds chasing warm weather rarely need heating capability from their AC
Occasional summer-only campers usually do fine with cooling-only units plus their stock furnace for chilly mornings
RV AC Sizes and BTU Ratings: What You Really Need
BTU (British Thermal Units per hour) measures cooling capacity. An undersized unit runs constantly without keeping pace; an oversized one short-cycles, leaving the air clammy because it can’t dehumidify properly. The capacity of an RV air conditioner should address both climate and interior space needs, and cooling requirements for RVs should match BTUs to square footage.
Here are practical recommendations:
A 13,500 BTU unit suits RVs up to 32 feet in moderate climates. This covers most travel trailers and smaller fifth wheels in the Pacific Northwest, northern Midwest, or New England.
A 15,000 BTU unit is ideal for RVs over 35 feet, or for 30–35 foot fifth wheels and motorhomes in warmer climates. Models like the Coleman Mach 15 and similar class units in this range are popular for good reason.
Choose 18,000 BTU for larger RVs in extreme heat. High-capacity rooftop units cool large spaces quickly at 13,500 BTU or higher, but when ambient temps regularly exceed 100°F, the extra capacity of an 18K unit prevents the system from running at 100% load all day.
Rigs over 35 feet often require two AC units to maintain comfortable temperatures throughout, especially if floor plans have separate bedroom and living areas.
RVs with lots of single-pane windows, dark exterior colors, and full sun exposure-think Arizona or Florida in July-often need more capacity than the length alone would suggest. For owners in the Sonoran Desert, using a local Tucson mobile RV repair service to assess AC performance and sizing can prevent underpowered setups in extreme heat. Replacing a worn-out older 11K or 13.5K unit with a modern 15K–18K model can make a significant difference, especially when combined with airflow upgrades discussed later in this guide.
Ducted vs Non Ducted RV Air Conditioners
RV air conditioners are typically sold in two configurations: ducted systems that send air through ceiling vents across the rig, and non ducted units that blow air directly into one zone from a central ceiling assembly.
Non ducted setups are common in travel trailers under about 28 feet. Air exits through a grille located directly beneath the rooftop unit. Non ducted units offer easy installation, lower weight, and simpler replacement, but fan noise is more noticeable directly below the unit, and distant corners of the RV may not receive much cool air.
Ducted systems push air through interior ductwork to multiple vents distributed throughout the ceiling. Ducted systems are standard on larger fifth wheels and Class A motorhomes, where cool air needs to reach bedrooms, bathrooms, and living areas evenly. The trade-off is that ducted units require more complex installation than non ducted units, and over time, duct leaks can reduce airflow in ducted systems.
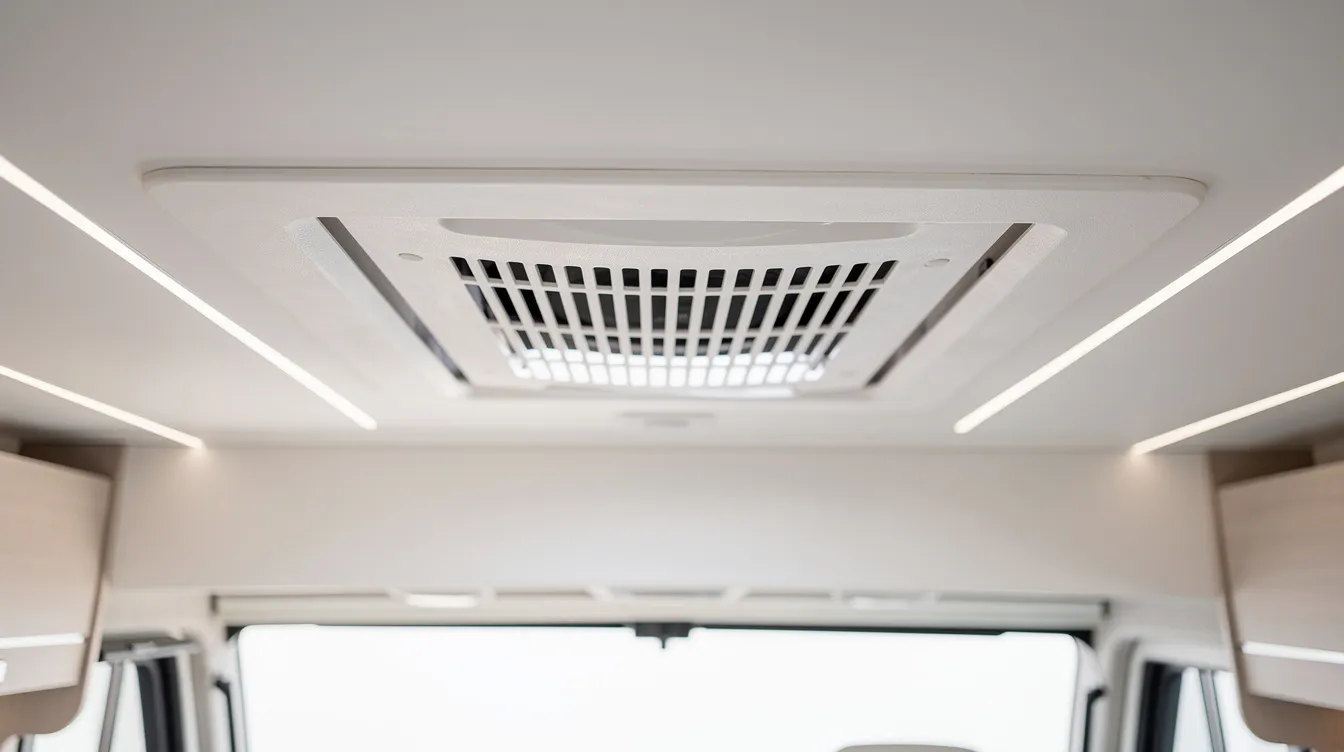
To check what you currently have, look inside your RV ceiling for solid vent registers connected to a central plenum. Inspect the roof opening (usually 14″ x 14″ or 14.25″ x 14.25″) and examine the existing ceiling assembly for duct knockouts or connections.
When replacing an RV AC, match ducted vs non ducted to your current setup unless you plan a more involved modification to the ceiling and ducting. Converting from one to the other is possible but adds cost and labor.
Fitment: Roof Opening, Roof Thickness, and Compatibility
Most RV air conditioners built between roughly 1995 and 2026 are designed to fit a standard 14″ x 14″ or 14.25″ x 14.25″ roof opening, but roof thickness and frame structure still matter.
Measure your roof opening from both inside and outside the RV. Units like RecPro, Coleman Mach, and Dometic models explicitly list compatibility with standard openings, typically 14-1/4″ × 14-1/4″ (±1/8″).
Check roof thickness. RV roofs range from about 1″ to 6″ thick depending on construction. Most AC kits include different length bolts and foam gaskets to seal properly. For example, RecPro’s 13.5K non-ducted AC accommodates roof thicknesses from approximately 1″ up to 5.5″ with optional bolt sets.
Confirm electrical compatibility. Verify your 12V control wiring, thermostat type (analog vs digital board), 120V supply wiring gauge, and breaker size before ordering a replacement air conditioner.
Check ceiling assembly fit. Ceiling assemblies vary by brand and model. When replacing just the rooftop unit, confirm that the new model’s footprint and bolt pattern align with the existing indoor trim and plenum.
These are straightforward checks that take half an hour with a tape measure and flashlight, but skipping them is the fastest way to end up with a unit that doesn’t fit your rig.
Performance in Hot Climates and Harsh Conditions
The desert Southwest, South Texas, the Gulf Coast, and southern Florida put extreme demands on any RV AC. When July and August temperatures commonly exceed 100°F, cooling isn’t a luxury-it’s a safety issue.
Many RV owners in hot climates choose at least a 15,000 BTU cooling-only unit. For hot climates, use a 15,000 BTU unit as a minimum; some owners prefer to skip the heat pump entirely to avoid any reduction in peak cooling capacity. In areas like southern Arizona, relying on a mobile RV repair service in Tucson for routine AC maintenance helps these systems keep up with extreme summer temperatures. Furrion ACs cool quickly and maintain consistent temperatures, making them a popular choice among full-timers in the southern U.S., alongside high-capacity models from the Coleman Mach lineup.

Maintaining insulation and considering RV layout can influence cooling efficiency just as much as the AC model itself. Reflective window coverings, insulated curtains, parking in partial shade, and orienting the rig to minimize sun on large window walls all reduce the realistic cooling load. Pre-cooling the interior before peak afternoon heat helps the AC maintain rather than chase the temperature.
Run both units on 50 amp service for rigs over 35 feet during peak heat
Clean condenser coils routinely during long summer trips-cottonwood seeds, dust, and bugs block airflow fast
Close all ceiling vents and windows to maximize the system’s ability to recirculate and cool interior air
Consider reflective roof coatings if your rig sits in direct sun for extended periods
Noise, Vibration, and Aerodynamics on the Road
Modern RV air conditioners aim to balance cool air output with quiet operation, robust construction, and low aerodynamic drag while driving. For many campers, noise is the deciding factor-especially for units mounted directly above sleeping areas.
Aerodynamic, low-profile shrouds reduce wind resistance on the road. Profiles of rooftop AC units can affect towing fuel economy and storage clearance, so a sleek, low-profile cover isn’t just cosmetic-it translates to slightly better mileage and easier entry into covered storage bays.
Anti-vibration mounts, balanced fan motors, and heavy-duty copper tubing all contribute to reduced noise and help the unit survive rough roads, potholes, and gravel travel common in RV life.
Real-world interior noise levels have improved substantially in recent years. RecPro’s units operate as quietly as 43 decibels at low fan speed, and the InstaCool Ultra runs as low as 43 dB for quiet operation-roughly the volume of a library. Many newer rooftop air conditioners advertise sound levels in the low-40 dB range at low speed, which allows comfortable conversation and TV watching without the loud drone that older units were known for. That reduced noise and quieter operation are among the most helpful upgrades in the current market.
Electrical Requirements and Power Management
Matching your RV AC to your electrical service is non-negotiable. Getting this wrong means tripped breakers, damaged equipment, or waiting in the heat while you troubleshoot.
Most single 13.5K–15K rooftop air conditioners can run on a 30 amp service, which delivers up to approximately 3,600 watts at 120V. However, the startup current (locked-rotor amps) of a traditional compressor can easily spike above what a 30 amp breaker allows. Soft-start devices can help traditional units run on smaller generators by reducing inrush current by roughly 65–75%, preventing breaker trips and allowing the AC to start smoothly even on weaker campground pedestals.
Running two units simultaneously almost always requires 50 amp service, a well-sized generator (3,500+ surge watts minimum per unit), or a carefully designed inverter system with load management.
Before upgrading or adding a second rooftop unit, check:
Breaker ratings and wire gauge for dedicated AC circuits
Manufacturer amp-draw specs (running and startup)
Whether your generator or inverter can handle the combined load
Variable-speed inverter RV air conditioners lower power consumption by up to 40% compared to traditional single-speed compressors. Mini-split systems eliminate heavy startup power surges during compressor activation, though they’re less common in standard rooftop form. RV owners who frequently boondock should consider these inverter-based or variable-speed models-they draw less power, modulate speed for efficiency, and integrate well with lithium battery and solar setups.
15,000 BTU units run on 30 amp service without issue during steady-state operation, but always verify that your specific unit’s startup draw won’t exceed your available supply.
Installation and Replacement Basics
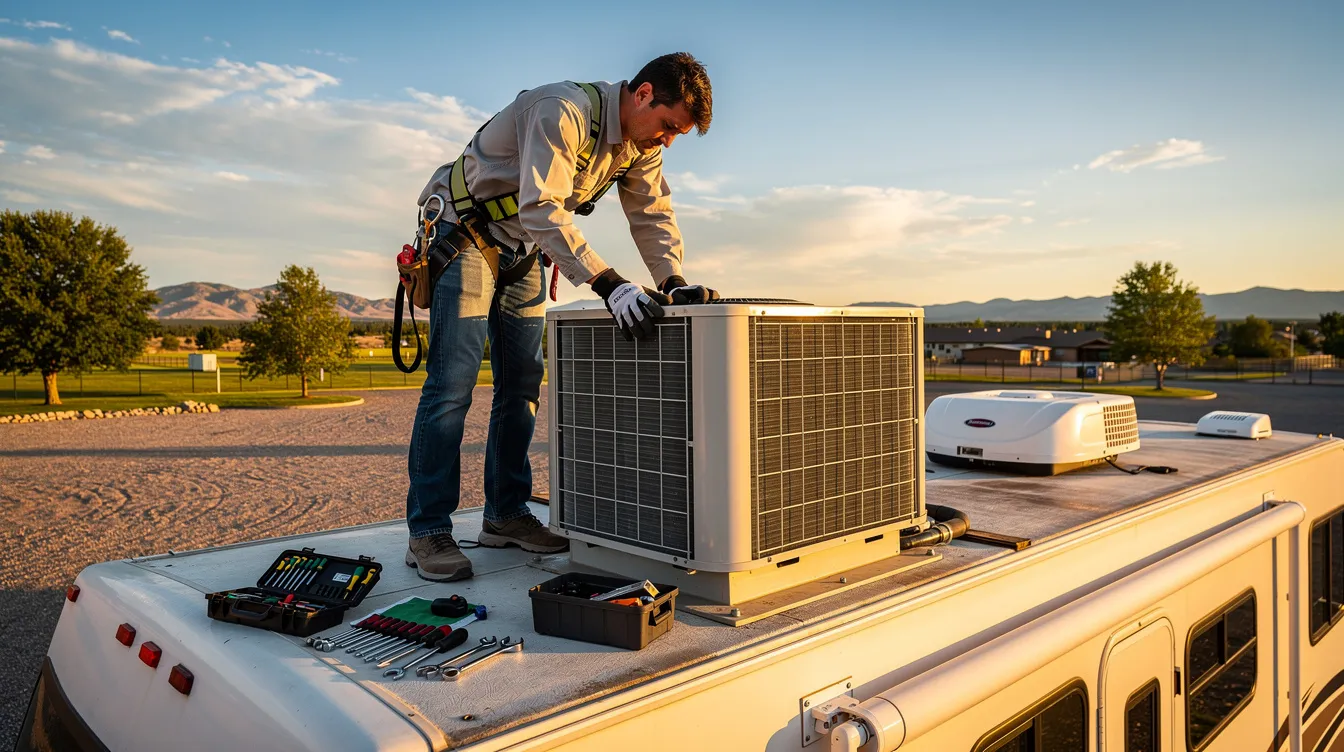
Many RV owners with moderate DIY skills can replace a rooftop air conditioner using basic tools. The process is straightforward but demands respect for roof safety and 120V electrical connections. Never work on the unit with shore power or batteries connected.
Here’s the high-level process:
Disconnect shore power and batteries completely
Remove the interior ceiling assembly-unscrew trim, disconnect wiring
From the roof, unbolt the rooftop unit (typically four bolts through the gasket) and lift it off with a helper
Clean the roof opening thoroughly; remove old gasket material and inspect for rot or water damage
Set the new RV AC on a fresh foam gasket, align bolt holes, and bolt down evenly
Reconnect wiring, install the new ceiling assembly, and restore power
Standard 14″–14.25″ roof openings and compatible ceiling assemblies make swapping from an older unit (say, a 2010-era Coleman or Dometic) to a 2023–2026 model relatively straightforward. Sometimes only the shroud or ceiling assembly needs replacement-cracked plastic covers, a damaged thermostat, or yellowed interior trim-rather than the full compressor unit.
After install, follow torque specs carefully. Avoid overtightening, which crushes the gasket and causes leaks. Recheck mounting bolt torque after the first few trips as the foam gasket compresses and settles.
Airflow, Ducting, and Real-World Cooling Performance
Many complaints about RV air conditioners-“it doesn’t blow cold enough”-are actually airflow issues rather than compressor failures. Poorly designed plenums, leaky ducts, blocked vents, and cheap ceiling assemblies can silently rob your AC of half its potential.
Improved air distribution kits, better plenum sealing, and upgraded ceiling assemblies can redirect cool air to where it’s needed most. Owners frequently report more consistent cold air, stronger airflow at far vents, and reduced noise after sealing duct transitions with proper HVAC tape and foam.
Practical checks every RV owner should perform:
Ensure return air filters are clean-a clogged filter can cut airflow dramatically
Verify that ducts are not crushed, kinked, or disconnected behind walls or in ceiling cavities
Use a thermometer to compare vent temperatures across different zones; supply air should be roughly 15–20°F cooler than return air at the intake grille
Look for duct leaks at joints and transitions, which reduce delivered airflow
In non ducted setups, simple changes like directional louvers, baffles, and quiet fan kits can enhance comfort in sleeping areas and reduce nighttime noise. Duct leaks can reduce airflow in ducted systems more than most owners realize-even a few unsealed joints along a run can drop output at far vents by 30% or more.
Maintenance and Longevity of RV Air Conditioners
Most RV air conditioners last 10 to 15 years with proper maintenance, even under heavy use during summer road trip seasons. Neglect shortens that lifespan considerably-and the failures always seem to happen on the hottest day of your trip.
Key annual maintenance tasks:
Clean or replace return air filters at least once per season, more often in dusty or pollen-heavy environments
Gently wash evaporator and condenser coils with a garden hose and coil cleaner
Inspect the roof gasket for cracks, dry rot, or excessive compression
Check under the shroud for wasp nests, mud dauber nests, and debris that can block fan blades
Common failure points include capacitors (both start and run), fan motors (bearing wear), control boards, and gaskets. The compressor itself is not always the first component to fail-often it’s a $15 capacitor that takes down the entire system.
Schedule a yearly rooftop inspection before peak summer travel, ideally in May or June; RV owners near Marana can even book a mobile RV AC inspection service in Marana, AZ to catch issues early. Simple troubleshooting steps for weak cooling:
Verify the fan is running at the correct speed (low speed is quieter but delivers less air)
Confirm a temperature drop across the coils of 15–20°F
Rule out low campground voltage with a plug-in voltmeter-voltage below 105V can prevent the compressor from starting or running efficiently
Before replacing the whole unit, rule out airflow issues, electrical supply limitations, and thermostat malfunctions
Top Considerations When Choosing a New RV Air Conditioner
By 2026, RV owners can choose from traditional single-speed air conditioners, inverter RV AC models, heat pump units, and ultra-quiet low-profile options. Choosing the right RV air conditioning system depends on size, power availability, and travel conditions. The right choice of an RV air conditioner depends heavily on RV size, floor plan, and power availability.
Use this as a buyer’s checklist:
BTU capacity vs rig size and climate: Match cooling power to your RV’s square footage and the worst heat you’ll camp in
Cooling-only vs heat pump: Evaluate whether heating capability matters for your travel plans; skip it if you only camp in warmer climates
Ducted vs non ducted compatibility: Match the new unit to your existing ceiling assemblies and duct configuration
Noise level goals: For bedrooms, prioritize units in the low-40 dB range at low speed
Roof structure: Confirm your roof can support the weight of one unit or multiple units
Electrical service: Factor in 30 vs 50 amp service, generator size, and any plans for solar and battery upgrades
Brand support and warranty: Check availability of replacement shrouds, ceiling assemblies, thermostats, and control boards over the 10–15 year expected life of the unit
Price vs value: A slightly higher price for an efficient, quiet model often pays for itself in reduced generator fuel, better sleep, and fewer mid-trip repairs
Portable RV air conditioners vent hot air through a hose and take up floor space-workable as a temporary solution but not a long-term replacement for a properly installed rooftop unit. One unit may be sufficient for a 28-foot trailer, but for larger rigs or those with slide-outs creating separate climate zones, two units deliver far more even comfort throughout.
FAQ: RV AC and RV Air Conditioners
Below are answers to common questions that go beyond what the main sections cover.
How cold should the air coming out of my RV air conditioner be?
Most properly functioning RV air conditioners produce supply air about 15–20°F cooler than the return air at the intake grille. For example, if the RV interior is sitting at 85°F, your ceiling vents should blow roughly 65–70°F air after the system has stabilized for 10–15 minutes. If the temperature drop is significantly less than 15°F, suspect restricted airflow, a dirty filter, or a refrigerant issue.
Can I run my RV AC while driving?
Yes, you can run a rooftop RV AC while driving if you have a generator or a large inverter powering it. However, most alternators alone cannot support a 13.5K–15K BTU air conditioner without a dedicated power source. Many Class A and Class C motorhomes come with built-in generators for exactly this purpose. Travel trailer and fifth wheel owners typically wait until they reach camp and plug into shore power.
Is a portable or window air conditioner a good alternative for an RV?
While some RV owners temporarily use portable or small window air conditioners, rooftop RV air conditioners are safer and more secure for long-term use. They’re designed for standard roof openings, highway wind loads, and the constant motion of RV life. A portable unit takes up floor space you can’t afford to lose and often doesn’t seal well enough to be efficient. Consider them a backup, not a primary solution.
Do inverter RV air conditioners really save energy?
Inverter RV AC units modulate compressor speed instead of cycling fully on and off, which can reduce energy use and provide more stable temperatures. Variable-speed inverter models can lower power consumption by up to 40% compared to traditional single-speed units. This is especially valuable for boondocking with limited generator or battery capacity-the compressor ramps down rather than shutting off and surging back on, saving fuel and extending battery life. Look at a video review or two of specific inverter models to see real-world power draw numbers before purchasing.
When should I replace instead of repair my RV air conditioner?
If an older rooftop unit-10 to 15 years or more-has multiple failing components (capacitor, fan motor, control board), uses obsolete refrigerant, or cools poorly even after coil cleaning and capacitor replacement, upgrading to a modern, efficient RV AC is usually more cost-effective than repeated repairs. Newer models deliver better cooling per watt, quieter operation, lighter weight, and improved reliability. Factor in the cost of a service call or two against the price of a new unit with a fresh warranty, and the math often favors replacement.