Your RV air conditioner stops blowing cold air in the middle of a July trip, and the first instinct is to blame the rooftop compressor. More often than not, the real culprit is a $50 thermostat on the wall, not a $1,500 AC unit on the roof. This guide walks through the most common RV AC thermostat problems, shows you how to test and fix them with basic tools, and helps you figure out when replacement or an upgrade makes the most sense.
Key Takeaways
Many RV AC “failures” trace back to the thermostat: dead 12V power, loose wires, bad sensors, or incorrect mode settings rather than a broken compressor.
RV thermostats operate on 12V DC and use proprietary control boards and communication cables, so residential 24V AC thermostats are incompatible.
A multimeter and simple jumper checks can isolate thermostat faults at a campsite before you call a mobile tech.
Common issues with RV thermostats include unresponsive displays and incorrect temperature readings, both of which often have simple fixes.
Thermostats are often cheaper to replace than entire AC units; upgrading to a digital or smart RV thermostat can solve recurring intermittent problems for $80 to $200.
Why RV AC Thermostat Problems Are So Common
Field service centers working on 2010 through 2024 Dometic and Coleman systems report that a large share of “broken AC” calls turn out to be thermostat or low-voltage wiring faults, not failed compressors. Owners expect the rooftop unit to be dead, but the real problem is sitting on the interior wall.
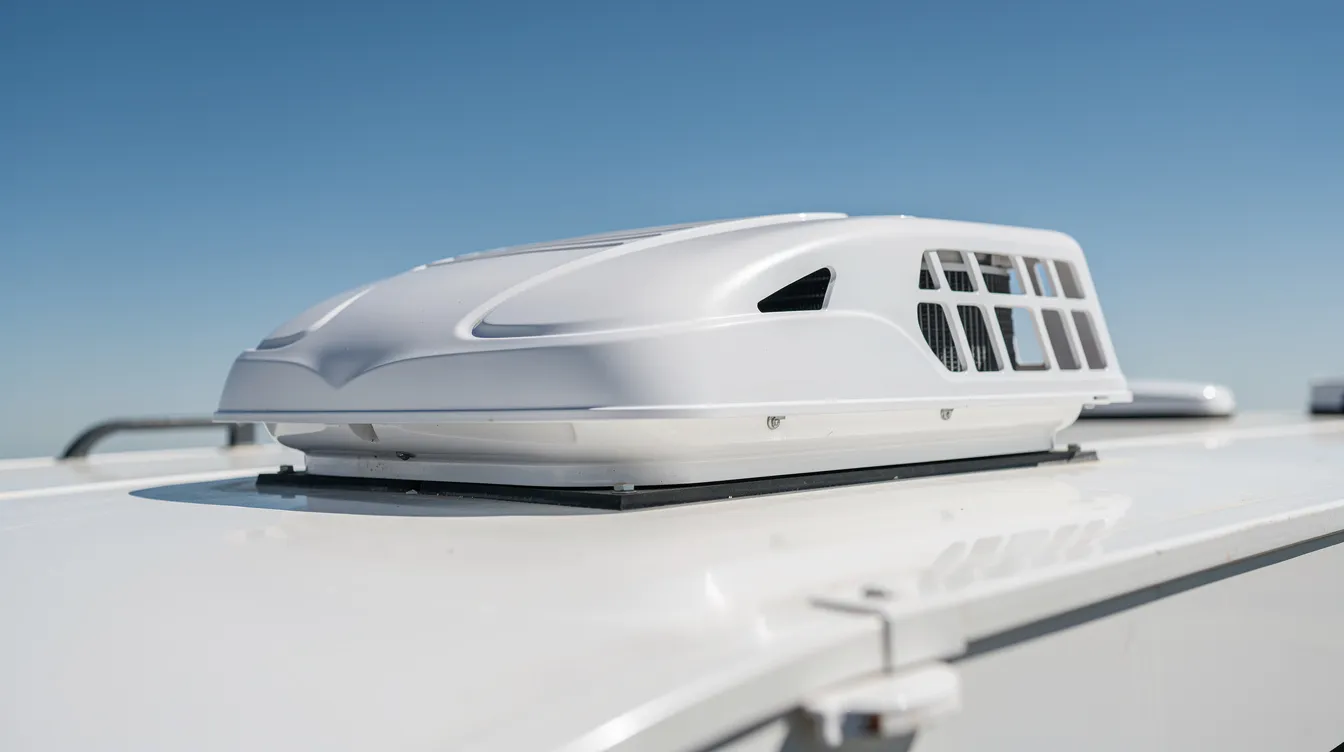
An RV thermostat functions as a low-voltage switch that sends signals to the rooftop control board, telling it when to engage cooling, heating, or the fan. When that switch fails or loses power, nothing happens; the AC unit sits idle even though its compressor, capacitor, and refrigerant charge are fine.
Typical symptoms that mimic a major AC failure include: no response from the AC unit, the fan runs but no cold air comes out, the system short cycles on and off every 30 to 90 seconds, or the set temperature never matches the actual RV temperature. Power issues often cause RV air conditioning thermostat problems, including blown fuses or weak batteries that starve the thermostat of the voltage it needs.
RV thermostats live in a harsh environment. Road vibration loosens terminal screws. Temperature swings from below freezing at night to 110°F in a parked RV stress electronics. Moisture promotes corrosion. And 12V systems dip under load when a generator struggles or batteries age, confusing digital controls. Analog units in humid climates like Florida drift by 3 to 5°F after 5 to 7 years of life.
How an RV Thermostat Controls Your AC Unit
An RV thermostat does not modulate how cold the air conditioner blows. It tells the AC unit to turn on or shut off. The compressor runs at one speed until the sensor reads the set temperature, then the thermostat opens the circuit and the system stops. Setting the thermostat lower does not produce colder air; it just makes the AC operate longer before cycling off.
Analog thermostats use simple ON/OFF switches for each function. In a typical 1995 to 2020 analog setup, individual 12V wires handle each job:
Red wire: 12V power feed from the RV’s house batteries or converter
Blue or black wire: 12V ground return
Yellow wire: compressor (cool) signal
White wire: furnace (heat) signal
Green wire: fan high speed
Gray or tan wire: fan low speed
Digital thermostats often require 12V DC power from the A/C control board and send commands through a communication cable rather than switching individual wires. Many Dometic and Coleman LCD models use an RJ-11 or Cat 5-style plug that carries both power and data signals down from the rooftop control box to the wall thermostat. This reduces the wire count from six or seven conductors to three: power, ground, and a single data line.
Fast Checklist: Is It Really a Thermostat Problem?
Before you pull the thermostat off the wall or call a technician, run through these quick checks at the campsite:
Is the thermostat screen blank or dim even though 12V house power is on? A blank display usually means no 12V feed reaching the unit, a dead fuse, or an internal failure; a blown 1-amp fuse on the rooftop board can cause a dead thermostat display.
Does the fan respond in FAN mode but no cold air appears in COOL mode? The thermostat is likely not sending the compressor control signal even though the fan circuit works.
Does the AC unit never turn off, even after the RV feels very cold? A stuck relay inside the thermostat or a sensor reading a falsely high temperature keeps the compressor running.
Does the furnace work correctly but the AC does not, or vice versa? This points to a single failed switch or wire rather than a total thermostat failure or a propane supply issue.
Do changes to the set temperature do nothing for several minutes or ever? The internal sensor or logic board has likely failed.
If two or three of these match your situation, test the thermostat itself before assuming the rooftop AC is bad.
Common RV AC Thermostat Problems and Symptoms
Each of these problems can appear suddenly on a trip, even if the thermostat seemed to function correctly last season.
Blank or frozen display. The AC won’t power on due to a tripped breaker or blown fuse in the main panel, or the 1A fuse on the rooftop control board has failed. If the display is dead and house batteries read normal voltage, the thermostat’s internal power circuit may be burned out.
AC runs but blows only warm or mildly cool air. The thermostat may not actually be closing the compressor circuit even though the fan command works. However, AC blowing warm air may also indicate a refrigerant leak in the sealed system, which no thermostat replacement will fix.
AC or furnace won’t turn on at all. A broken internal relay, failed temperature sensor, or loose wiring at the backplate stops the thermostat from completing any circuit. External heat sources may cause inaccurate temperature readings on thermostats, tripping safety logic that prevents the system from engaging.
Short cycling (on for 30 to 90 seconds, then off). Dirty air filters can restrict airflow, leading to short cycling in RV air conditioners. AC freezing up often points to restricted airflow issues as well. If the filter is clean, suspect a faulty thermostat sensor or calibration drift from years of thermal stress. Water dripping inside may be due to clogged condensate drain holes, another airflow-related problem that compounds cycling issues.
Set temperature never matches actual temperature. Weak airflow can result from a clogged filter or blocked ducts, causing the sensor to read stale air. Sunlight hitting the thermostat or a light fixture mounted directly below it will push readings several degrees high.
These symptoms affect both cooling and heating modes because the same thermostat typically controls the furnace and the air conditioner.
Step-By-Step: Troubleshooting Power and Wiring to the RV Thermostat
Safety first: disconnect shore power, turn off the generator, and flip the 12V battery disconnect switch before removing the thermostat cover or handling bare wires.
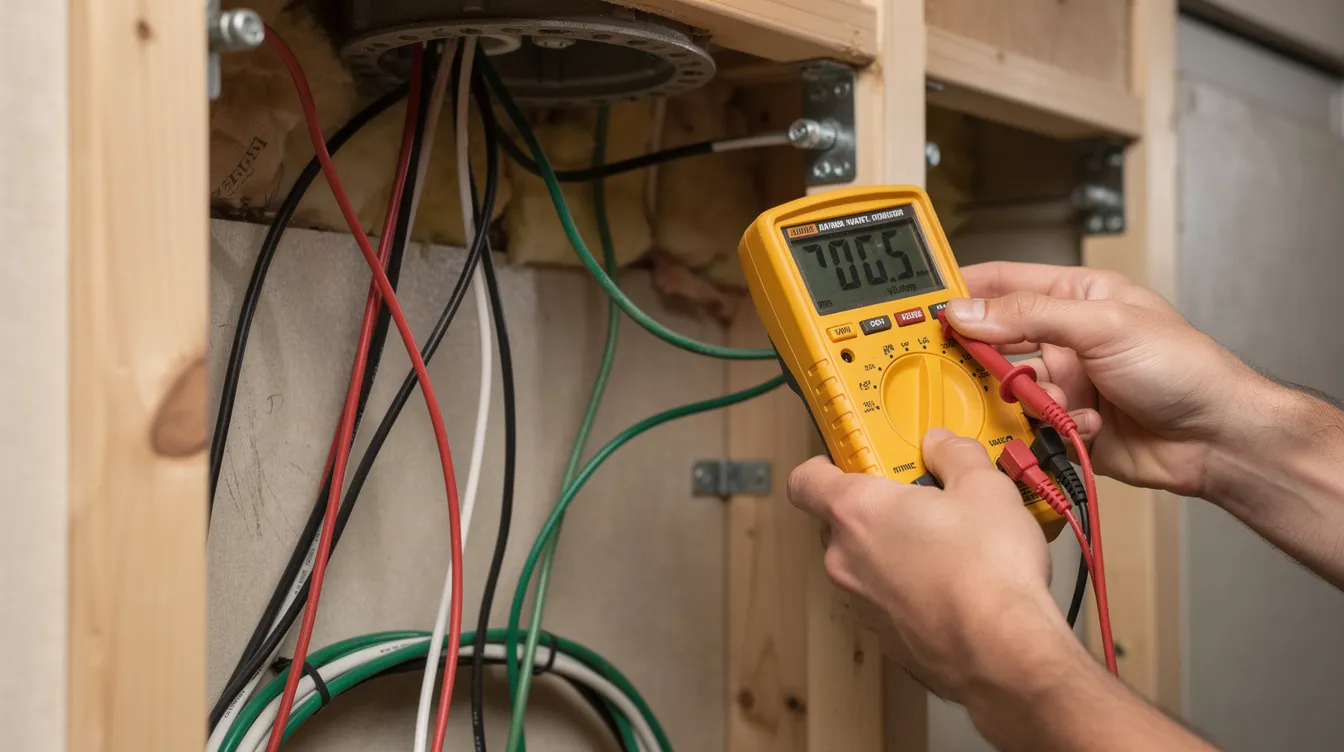
Check 12V at the thermostat. Set your meter to DC volts. Check for 12V at the thermostat’s red wire against the blue or black ground wire. Expect a reading between 12.0V and 13.6V in a healthy system. Inspecting battery status and ensuring proper voltage are critical for RV thermostat function; if you read below 10V, the batteries may be weak or the converter is off. If you read zero, check the RV’s fuse panel and any inline fuses feeding the thermostat from the rooftop board.
Inspect wiring connections. Gently pull each wire to confirm it is captured in its terminal block. Loose or corroded wiring can lead to malfunctioning RV thermostats. Look for green corrosion on copper strands, especially in rigs stored near saltwater. Tighten any loose screws.
Jumper tests (analog systems only). With power restored, bridge the red 12V feed wire directly to the green fan wire. If the fan runs, the rooftop unit and wiring are good for that circuit. Next, bridge the red wire to the yellow compressor wire. If the AC unit starts and cold air appears at the vents, the compressor and refrigerant are fine; the thermostat is the failure point. Set the thermostat to HEAT and check the white wire for 12V to verify the furnace circuit the same way.
If the AC reacts to jumpers but not to thermostat commands, the thermostat is almost certainly dead.
Digital or communication-cable systems. You cannot safely jumper individual functions on these. Verify 12V at the board, then try resetting the thermostat by pulling it off the wall or cycling its breaker for 30 seconds. Resetting the thermostat can clear glitches in digital models. If the problem persists, substituting a known-good unit of the same model is the fastest diagnostic path.
Regularly checking and replacing blown fuses is essential for maintaining RV thermostats across both system types.
Digital vs Analog RV Thermostats (and Why It Matters)
Your troubleshooting path depends on whether you have an older analog thermostat or a newer digital model. The two architectures differ in how they control the rooftop unit, and that difference changes what you can safely test.
Analog units (common in 1990s through early 2010s RVs) use individual 12V switched wires for each function. Analog thermostats are easier to troubleshoot than digital ones because each circuit can be tested or jumped independently with a meter.
Digital units (common from around 2014 onward) send commands and power through an RJ-11 or Cat 5-style communication cable from the rooftop AC control board. Digital thermostats may have complex wiring and proprietary parts that prevent simple jumper tests.
Analog systems rarely show error codes. Digital thermostats can freeze up and require resets when the microcontroller locks or firmware glitches after a voltage sag at night.
Some OEM digital thermostats are proprietary, which is why many techs carry spares and simply swap the unit to confirm a diagnosis before ordering parts.
Residential thermostats are incompatible with RVs due to power differences. A Nest or Ecobee expects 24V AC from a house furnace transformer; plugging one into a 12V DC RV system can damage the control board or simply produce no response. Only RV-specific or explicitly RV-compatible units should be used.
Fixing the Most Frequent Thermostat-Related AC Issues
Many RVers can safely fix basic thermostat issues with hand tools and a meter, without touching refrigerant or sealed AC components.
Blank screen. Check the fuse at the main 12V panel first. Then inspect the tiny fuse on the rooftop control board. If power reads correct at the wires but the screen stays dead, install a new RV thermostat of the same model.
Fan only, no cold air. Confirm the thermostat is set to COOL, not FAN. Verify 12V appears on the compressor wire when calling for cool. If the signal is missing but wiring tests good, replace the thermostat.
System won’t shut off. Recalibrate or relocate the thermostat away from drafts, sunlight, or burning propane appliances. If it still fails to cycle properly, suspect a stuck relay or bad internal sensor. Replace the unit.
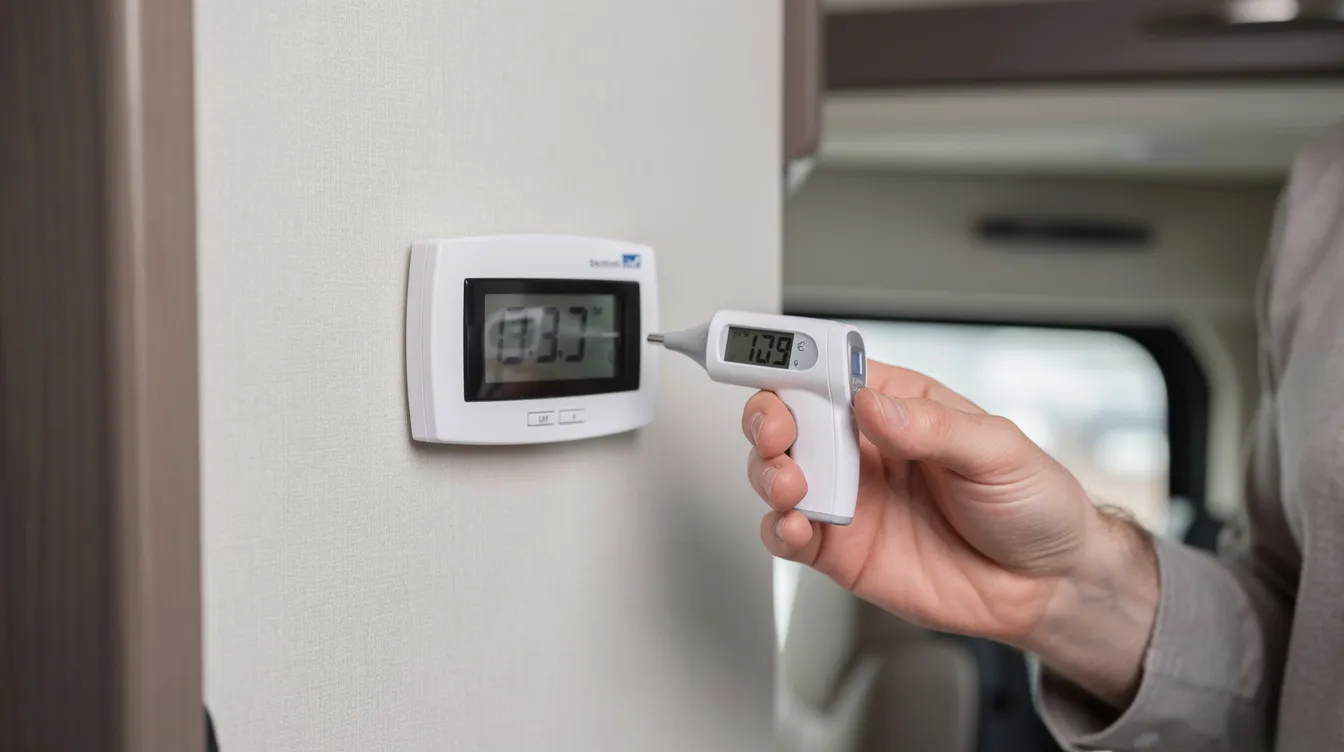
Temperature reading way off. Verify with a separate digital thermometer and allow 10 to 15 minutes for the sensor to stabilize. If the RV thermostat is consistently off by more than 3 to 4 degrees, replacement is faster and cheaper than repair.
Intermittent operation after bumps or while driving. Tighten wire connections. Look for corrosion at every terminal. Aging analog units that respond to tapping or wiggling should be replaced.
When fixes reach the point of opening rooftop AC shrouds or dealing with a capacitor, call a certified RV or HVAC technician or schedule mobile RV repair services in Tucson, AZ if you’re in the area.
When to Replace (and Upgrade to a Smart RV Thermostat)
Thermostats are often cheaper to replace than entire AC units. A basic analog replacement runs $30 to $80. OEM digital units from Dometic or Coleman range from $80 to $200 depending on brand, zone count, and model. Smart RV thermostat upgrades start around $200 for the hardware.
Clear indicators that replacement beats more troubleshooting:
The thermostat is more than 10 to 15 years old with intermittent, flaky behavior.
The screen is cracked, buttons stick, or the mode switch won’t stay in position.
You want precise temperature control and error-code feedback that analog sliders cannot provide.
A proprietary digital thermostat keeps throwing random error codes or locking up, and Dometic thermostats may require a new rooftop board for replacement in some configurations.
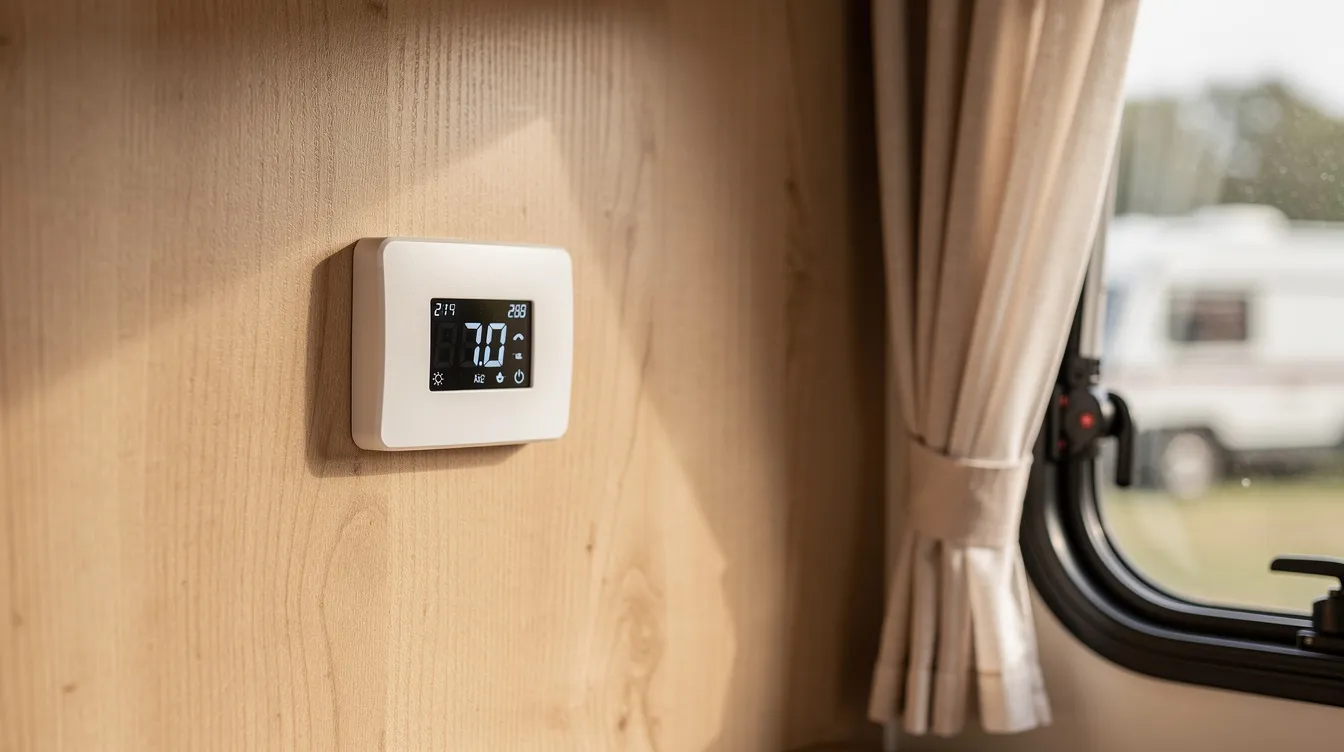
Upgrading thermostats can enhance energy savings and comfort. Micro-Air thermostats offer Bluetooth and Wi-Fi control for RVs, letting you pre-cool from your phone. WalTech Vision 2.0 provides smartphone access and remote control with a remote sensor option for multi-zone setups. Both support heat pump systems in larger fifth-wheels and motorhomes.
Before ordering, verify compatibility with your existing AC unit brand and control board. A thermostat built for a Dometic 3-wire comm bus will not work on a Coleman analog system without an adapter.
Preventing Future Thermostat and AC Headaches
A few minutes of preventive care each season can reduce mid-summer failures to near zero.
Keep air filters and return-air grilles clean so the thermostat is not fighting poor airflow and freeze-ups.
Once or twice a season, remove the thermostat cover and dust the sensor with compressed air or a soft brush.
Avoid placing heat-producing electronics (TVs, routers, lights) directly under or beside the thermostat. For accurate temperature readings, the thermostat should be positioned away from heat sources and in a location with good air circulation.
Check and snug down thermostat wire screws annually to counteract vibration-induced loosening.
Use a surge protector or EMS at the campground pedestal to reduce low-voltage events that can confuse digital controls and risk tripping breakers.
At the start of each camping season, run the AC, furnace, and fan modes separately. Verify the thermostat responds as expected before heading out. This five-minute test catches dead sensors, stuck relays, and weak batteries before they leave you sweating at a campsite with no access to a repair shop.
FAQ
These questions address common follow-up concerns RVers have after working through thermostat and AC unit diagnostics.
Can I use a regular house thermostat to control my RV AC?
Most residential thermostats expect 24V AC from a furnace transformer. RV systems run on 12V DC with proprietary wiring and control logic. Plugging a standard house thermostat directly into an RV will either produce no response or damage the control board. Only thermostats specifically designed for 12V DC RV systems, or those explicitly labeled as RV-compatible with the correct voltage range and connector type, should be used.
Is it safe to run my RV AC and thermostat while driving?
Many motorhome owners run the generator to power the rooftop AC unit while driving, letting the thermostat control interior temperature. Towable RV owners typically cannot do this because travel trailers need shore or generator power that is not available while under tow. Most rely on the tow vehicle’s AC or 12V fans during transit. If you do run a generator while driving, make sure fuel and exhaust venting are sound.
Where is the best place to mount an RV thermostat for accurate readings?
Mount the thermostat on an interior wall about 5 feet off the floor. Keep it away from direct sun, exterior walls, cooking appliances, and supply vents that blow cold air directly on it. Placing it near a window or above a propane stove produces false temperature readings and causes the system to short cycle or never reach the correct set point.
How much does it usually cost to replace an RV thermostat?
Basic analog replacements typically run $30 to $80. OEM digital units cost around $80 to $200 depending on brand and zone count. Smart RV thermostat upgrades with Bluetooth or Wi-Fi start at roughly $200 for the hardware alone. If a technician handles the install, expect $50 to $150 in additional labor depending on the RV’s layout and how easy it is to access the wiring. RV owners near Marana can use mobile RV thermostat and AC repair in Marana, AZ, while those closer to Tucson can schedule on-site RV AC and thermostat service in Tucson, AZ.
Will a new thermostat make my RV AC blow colder air?
The temperature of the cold air coming from your AC unit is determined by the refrigeration system, not the thermostat. A new RV thermostat will not lower the supply air temperature. What it will do is maintain a more stable interior temperature, reduce overshooting, and cut down on rapid cycling, making the RV feel more comfortable overall without changing how the compressor or heat pump operates.