Nothing ruins a summer camping trip faster than climbing into a sweltering RV and realizing your air conditioning unit is blowing warm air instead of cold air. The fan spins, the thermostat display glows, and everything sounds fine-but the RV AC compressor won’t start. Before you panic or start pricing a new unit, know that most causes are straightforward electrical issues you can diagnose yourself with basic tools.
This guide walks you through every troubleshooting step, from verifying campground power to inspecting capacitors and the control board, so you can get your RV air conditioner back to producing cool air as quickly as possible.
Key Takeaways
A fan that runs but keeps blowing warm air usually means the compressor is not starting-not the compressor running poorly.
Low campground voltage (below 108 volts), a tripped AC circuit breaker, or a blown fuse are the fastest checks and often the real cause of compressor start failures.
A bad start capacitor is responsible for roughly 70% of RV AC compressor failures, making it the single most common internal culprit.
Start and run capacitors, a faulty thermostat, and a damaged control board are the most frequent internal parts that prevent the compressor from kicking on.
Most fixes involve inexpensive electrical components ($15–$150 in parts), but an internally failed compressor often means replacing the entire rooftop air conditioner unit at around $1,200.
Recognizing When Your RV AC Compressor Isn’t Starting
The first step is confirming it’s truly a compressor problem and not just weak cooling or restricted airflow. Many RV owners hear the fan running and assume the whole system is working, only to wonder why the air never gets cold.
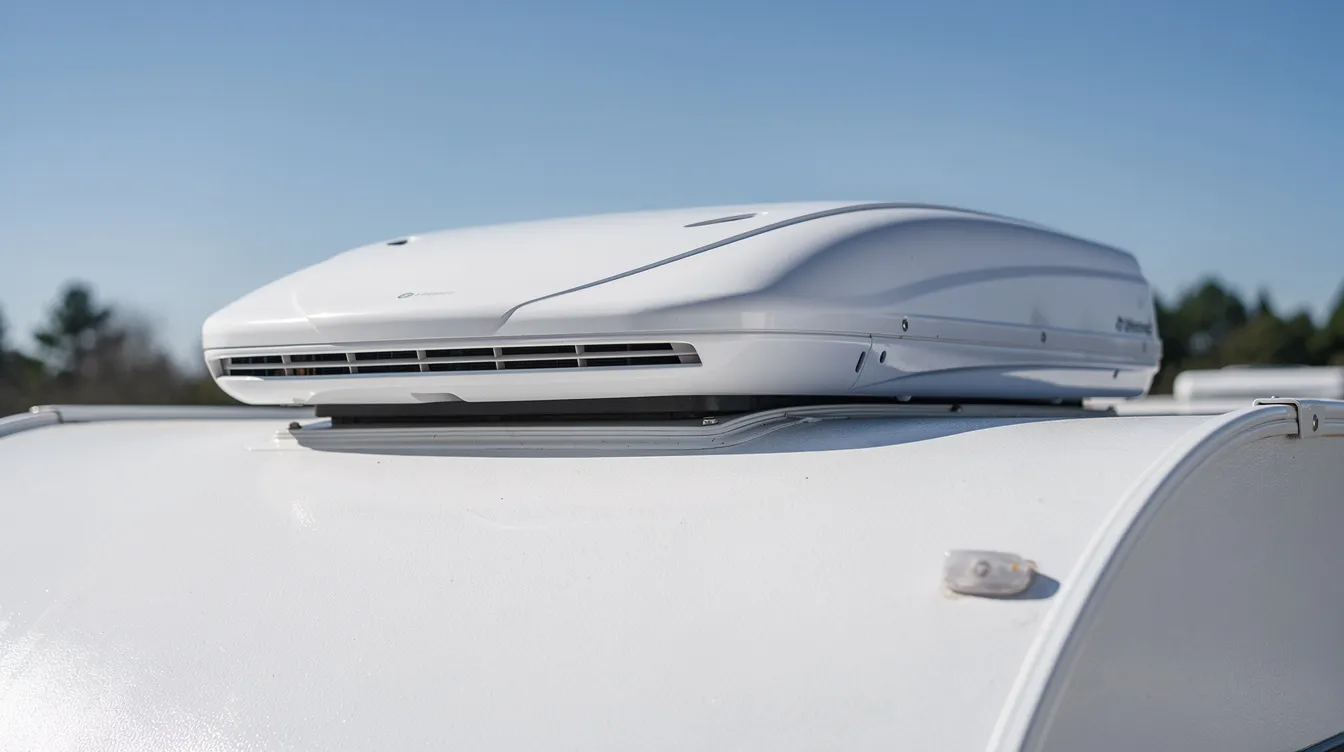
If the fan operates but the compressor does not start, several issues may exist. The AC unit may sound “normal” because the fan motor is doing its job, but the compressor-the part that actually circulates refrigerant-stays silent. Warm air from vents indicates a non-functioning compressor rather than a unit that’s simply struggling to keep up with extreme heat.
These signs apply to typical rooftop RV air conditioner models produced over the last 10–15 years, which use 120V AC power for the compressor and fan while relying on a separate 12V DC circuit for the wall thermostat and control signals. The rest of this article shows you how to move from these symptoms to a step-by-step diagnosis.
Common Symptoms: Fan Runs but No Cold Air
When the fan runs but vents never produce cool air after 5–10 minutes, the compressor likely isn’t starting at all. This is the most reported symptom among RV owners and the easiest to identify without any tools.
Try this quick test: hold your hand near a ceiling vent. If the air feels like outside ambient temperature-or even warmer, like attic heat radiating through the RV roof-the evaporator coil inside the air conditioning unit isn’t being cooled. You might hear a gentle fan noise but no deeper “growl” or humming from the compressor on the roof.
If the unit has been blowing warm air for an extended period, turn the system off and let it rest for at least 15 minutes. Continuous operation without the compressor running won’t damage the fan motor, but repeated failed start attempts can overheat electrical components inside the rooftop unit.
Other Warning Signs: Clicking, Humming, and Short Cycling
Beyond the “fan only” scenario, several secondary symptoms point directly to start-up problems in the compressor circuit.
Clicking with no start: A repeated clicking noise every time the thermostat calls for cooling, followed by silence, usually means the relay on the control board is engaging but the compressor can’t pull in. A clicking sound may mean the compressor is trying to start but failing.
Humming without turning: A weak capacitor can cause a compressor to hum without starting. The motor receives power but lacks the torque boost it needs from the start capacitor to begin spinning.
Short cycling: The compressor starts, runs for under one to two minutes, then shuts off and repeats the cycle. This often traces back to dirty condenser coils causing the compressor to overheat, low voltage from the campground pedestal, or a failing control board relay. Compressor thermal overload switches can trip if the unit overheats, temporarily shutting the compressor down until it cools.
These symptoms narrow the search considerably. If you hear any of them, you’re likely dealing with a capacitor, power, or control board issue rather than a completely dead compressor.
How the RV AC Compressor and Cooling Cycle Work
Understanding the basic cooling cycle helps you pinpoint where things break down. Here’s the simplified version:
Thermostat calls for cooling → sends a 12V DC signal to the control board.
Control board activates relays → supplies 120V AC power to the fan motor and compressor.
Compressor compresses refrigerant → pushes hot, high-pressure gas through condenser coils on the roof, where heat is rejected into outside air.
Refrigerant expands → travels through the indoor evaporator coils, absorbing heat and producing cold air that the fan blows through your vents.
RV air conditioners use both 120-volt AC and 12-volt DC power. The compressor requires at least 120 volts to operate, while the thermostat and control signals run on 12V from the coach battery. A failure anywhere along the chain-thermostat, control board, capacitors, or compressor motor-can make the fan run while the compressor stays off.
The start capacitor deserves special attention. It stores energy and releases a large burst during the first fraction of a second to help the compressor motor overcome inertia. Without that kick, the motor stalls. The run capacitor then maintains proper phase shift during continuous operation.
Quick Safety and Power Checks Before Climbing on the Roof
Warning: Inspecting and servicing RV air conditioners involves working with high voltage that can be lethal. Never open panels or touch wiring with power connected.
Before you climb up or remove any shroud:
Unplug shore power from the campground pedestal.
Switch off the generator.
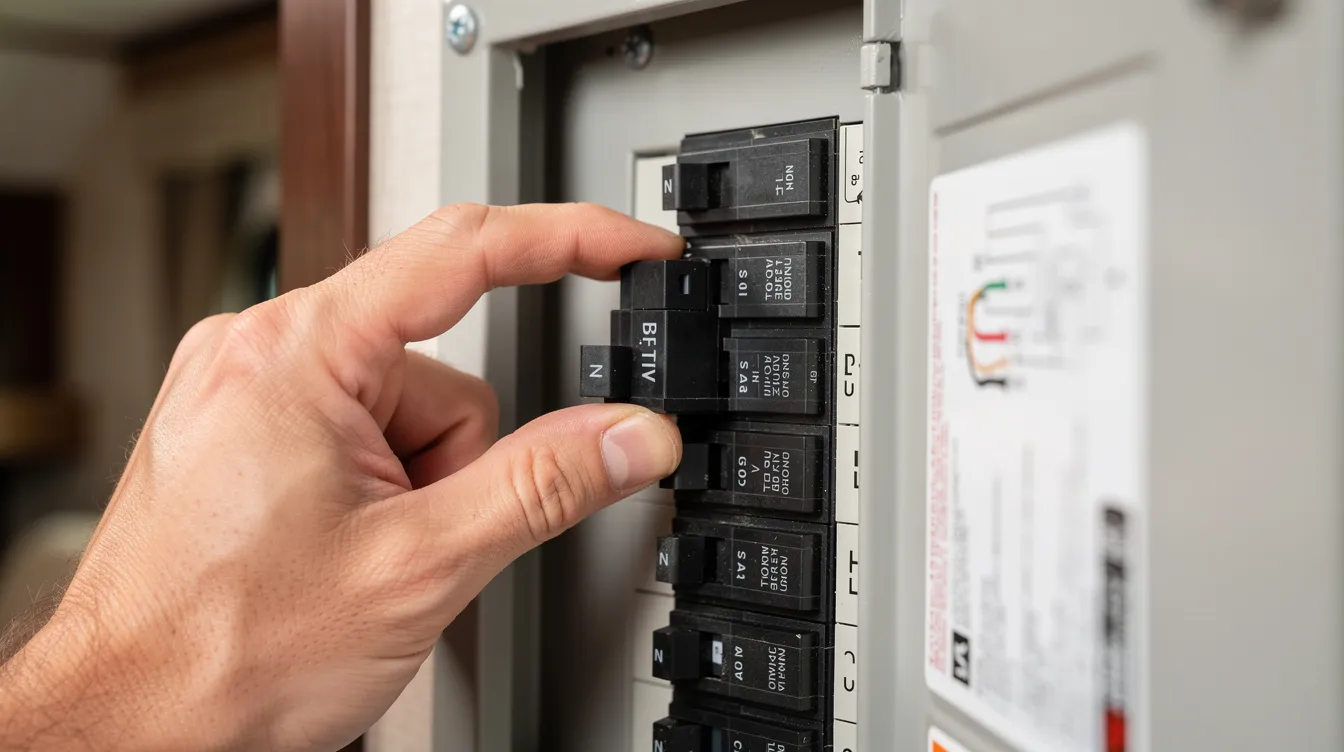
Turn off the AC circuit breaker inside the RV’s distribution panel.
Wait at least two minutes before touching internal components.
Capacitors can hold a charge even after power is cut. If you’re not confident discharging them safely, leave internal work to a qualified RV technician. Any diagnosis involving live voltage tests or opening sealed compressor circuits is best left to a professional.
Step 1: Check Shore Power, Campground Voltage, and Breakers
Most “compressor won’t start” complaints trace back to basic power issues. Start here before suspecting internal parts.
Confirm power is present: Turn on another 120V appliance inside the RV-a microwave or a hair dryer. If nothing works, you may have no campground power reaching the RV at all, or a main breaker has tripped.
Measure voltage: RV air conditioners require a constant supply of 120 volts. Use a surge protector with a built-in display or a simple voltmeter at the pedestal to check incoming voltage. Voltage below 108 volts prevents the RV AC compressor from starting. Low campground voltage is especially common on hot summer afternoons when too many appliances are drawing from the same infrastructure. Low voltage can also cause increased amperage and trip breakers, compounding the problem. Low voltage below 108 volts can damage the compressor over time, so avoid running the unit under those conditions.
Reset breakers: Find the breaker labeled “AC,” “Air Conditioner,” or similar in your RV’s distribution panel. A tripped breaker can stop power to the RV air conditioner entirely. Reset the AC circuit breaker if it has tripped-flip it fully to OFF, then back to ON. Resetting power can sometimes allow an internal compressor reset as well.
Check 12V fuses: Check for blown fuses in the 12-volt system. A blown fuse on the DC side can cut power to the thermostat or control board, meaning the compressor never receives a start command even though 120V shore power is fine.
Step 2: Verify Thermostat Settings and 12V Control Power
Incorrect thermostat settings can mimic compressor failure by preventing the start signal from ever being sent. This is a surprisingly common oversight.
Inspect the thermostat settings: set to “Cool” and “Auto.” If the mode is on “Heat” or “Fan Only,” the compressor will never receive a command.
Make sure the setpoint is at least 5°F lower than the current interior temperature shown on the display panel.
Understand fan modes: “Fan On” keeps the fan running continuously regardless of cooling demand, while “Auto” lets the thermostat control both fan and compressor together.
Thermostat failure can inhibit the command signal for compressor operation. If the thermostat display is dim or blank on a digital unit, check 12V battery voltage and replace batteries if applicable. A dead thermostat sends no signal.
Loose thermostat wiring or corroded connections at the control board can interrupt the 12V signal. If the ceiling panel is accessible, do a visual inspection for disconnected or green-corroded wires. Some units have three wires running between the wall thermostat and the rooftop unit-make sure all are secure.
Step 3: Listen for the Compressor and Inspect the AC Unit Outdoors
Stand quietly near the RV ceiling vent or outside under the rooftop air conditioner. Have someone inside set the thermostat to Cool with a low target temperature.
You should hear the fan start first, followed by either:
A distinct click and deeper hum → the compressor starts and is running. Check for cold air after a few minutes.
Fan noise only, no click or hum → the compressor is not getting power, or the motor cannot engage.
Click, brief hum, then silence → the compressor tries but fails. This pattern strongly suggests a failed start capacitor or marginal campground power that sags under the compressor’s inrush current.
Listen for a click from the compressor when starting-it’s the relay on the control board engaging. No click at all typically points upstream to the thermostat signal or a dead relay. Gently feel the air coming out of the rooftop shroud near the condenser coils. If there’s no warmth being expelled, the compressor is not pumping refrigerant.
Step 4: Check Capacitors, Control Board, and Wiring (Advanced DIY)
This section is for confident DIYers comfortable opening the rooftop AC unit with all power disconnected and discharged.
Capacitors
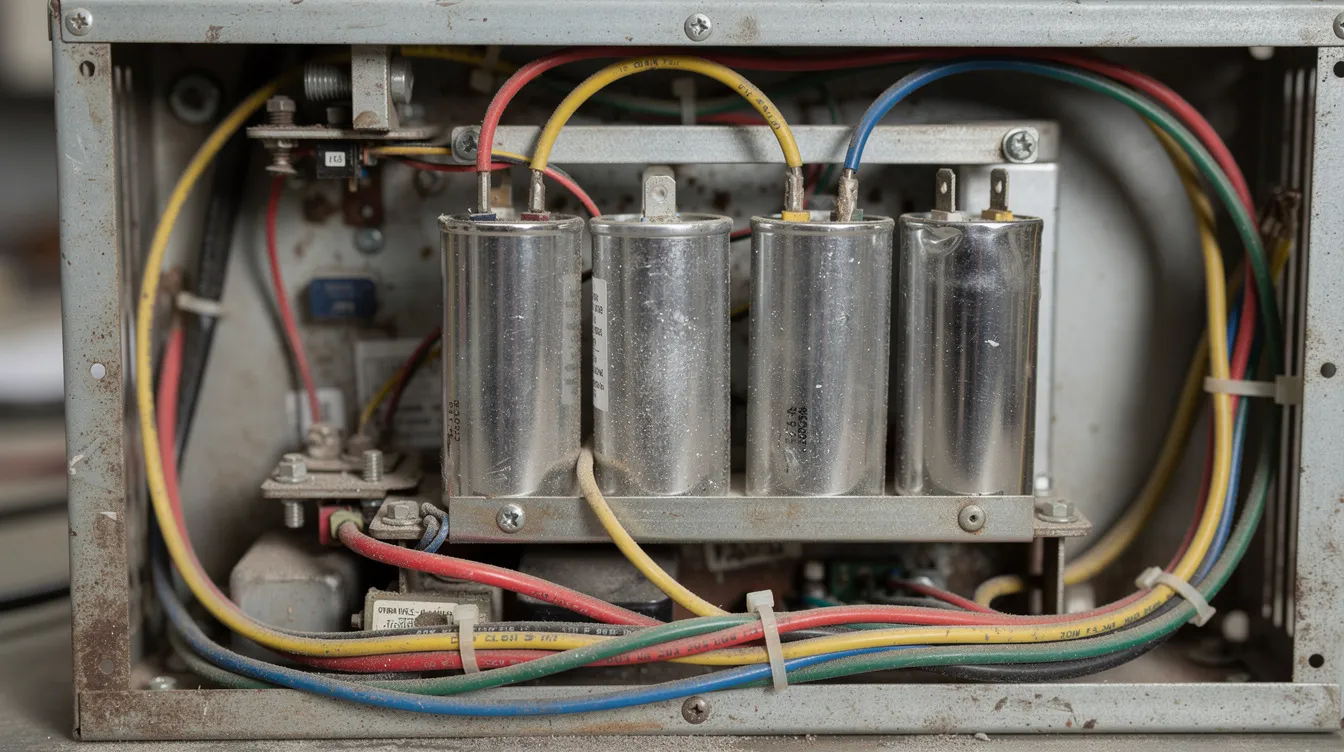
Inside the rooftop unit, you’ll find metal or plastic cylinders with multiple terminals-these are the start and run capacitors. They’re usually strapped near the fan motor and compressor. A defective start/run capacitor can prevent a compressor from running.
Visual checks reveal a lot:
Sign | What It Means |
|---|---|
Bulging or domed top | Capacitor has failed internally |
Oily residue or leaking fluid | Electrolyte breakdown-replace immediately |
Burnt or discolored terminals | Overheating from bad connections or power surge |
Flat top, dry, no distortion | Likely still functional (confirm with a meter) |
If you have a multimeter with capacitance mode, disconnect and safely discharge the capacitor, then measure its microfarad (μF) rating. If the reading is more than 10% off the printed specification, replace it. Replacement start capacitors typically cost $15–$30. |
Control Board
The control board uses relays to send 120V power from the AC circuit to the compressor. Look for burned relay contacts, scorch marks, or heat damage on the board. A damaged or failed relay can supply power to the fan motor but never pass voltage to the compressor terminals.
Wiring
Check for loose spade connectors, scorched insulation, melted wire harness plugs, or corroded terminals between the control board, compressor, and fan. Any signs of arcing or burning smell mean those wires or connectors need to be replaced before re-energizing the unit.
Step 5: Look for Airflow Problems, Frozen Coils, and Overheating
The compressor might start but shut off quickly-or be prevented from restarting-because of airflow and temperature problems.
Frozen evaporator coils: Ice buildup on the indoor coils blocks airflow, making vents blow weak warm air even if the compressor tries to run. Frozen coils often result from dirty filters, closed interior vents, or running the AC when outdoor temperatures drop below about 60°F at night.
Dirty condenser coils: On the RV roof, condenser coils clogged with dust, leaves, or pine needles trap heat. The compressor works harder, temperatures climb, and eventually the thermal overload or safety switch trips. Cleaning condenser coils prevents compressor overheating-a simple task that avoids expensive failures.
What to do: Inspect filters, indoor return air grills, and coil surfaces. If you find ice, shut the entire AC unit off but leave the fan running on high to help thaw the coils. Wait until all ice is gone before restarting the cooling mode.
Eight Likely Causes When the Compressor Won’t Start
Here are the most common reasons an RV AC compressor stays off, ranked roughly from easiest to hardest for DIYers to address.
Low campground voltage or overloaded shore power: Running too many appliances on a 30-amp or 50-amp service causes voltage drops that prevent the compressor from pulling in. Check shore power voltage; it must be above 108 volts.
Tripped AC circuit breaker or blown fuse: A tripped breaker in the RV’s distribution panel or a blown fuse on the 12V side silently kills the whole system.
Failed start capacitor or run capacitor: A bad start capacitor causes 70% of compressor failures. Symptoms of compressor failure include humming or silence while the fan runs, and the RV AC clicks but nothing happens. This is not the compressor itself-it’s a $20 part.
Faulty wall thermostat or damaged thermostat wiring: If the thermostat can’t send its 12V control signal, the compressor never gets a start command.
Damaged control board or compressor relay: Burned relay contacts or a fried board mean 120V never reaches the compressor terminals, even though other appliances work fine.
Dirty coils and blocked airflow triggering thermal overload: Short cycling or refusal to restart are classic signs of overheating caused by neglected maintenance.
Power surge damage: A sudden spike from the campground pedestal can fry capacitors, relays, or the control board. An electrical management system helps prevent this.
Internal compressor failure: A locked rotor, seized motor, or open windings. This is the least common but most expensive cause. Roughly 70% of RV AC compressor failures are due to electrical issues, meaning the compressor motor itself is usually fine.
Repair vs. Replacement: Deciding What to Do Next
Once you’ve identified the cause, the decision comes down to cost and practicality.
Repair | Approximate Cost | DIY Feasible? |
|---|---|---|
Start/run capacitor | $15–$30 | Yes |
Thermostat replacement | $30–$100 | Yes |
Control board or relay | $100–$150 (parts) | Moderate |
Compressor motor | Up to $1,150 | No (technician) |
Repairing an RV AC compressor | About $900 | No (technician) |
Replacing an entire RV rooftop AC unit | Around $1,200 | Technician recommended |
Repairing a compressor is often cheaper than replacing the entire unit, but the gap narrows when you factor in labor and the age of the system. A replaced capacitor or thermostat is generally worthwhile and within many RV owners’ skill level. A burned control board, repeated breaker trips under normal voltage, or a damaged wiring harness justify a technician’s diagnostic visit. |
Internal compressor failure or a refrigerant leak in sealed RV air conditioners often makes buying a new unit more cost-effective than compressor-only repair. Double check the air conditioner’s age and warranty coverage before investing heavily-units older than 8–10 years are approaching the end of their typical 10–15-year lifespan.
Preventing Future Compressor Problems and Warm-Air Surprises
A few maintenance habits prevent damage and keep the compressor starting reliably season after season.
Clean filters regularly: Clean or replace interior air filters every month during heavy summer use. Restricted airflow across the evaporator coils is the number one cause of frozen coils and compressor overload. Clean the AC filters and coils once a year at minimum.
Service condenser coils: Inspect and gently clean condenser coils on the roof at least once per season. A soft brush or compressed air removes debris that traps heat.
Monitor your power source: Use a quality EMS (electrical management system) or surge protector at campgrounds. These devices display incoming voltage in real time and can disconnect the RV automatically if voltage drops dangerously low-helping you prevent damage before it happens. A soft-start kit like the Micro-Air EasyStart can also reduce startup current demands when you’re on a generator or weak pedestal.
Perform an annual inspection: Before long trips, check electrical connections, capacitor condition, and the control board for corrosion or heat damage. Perform an annual inspection to check AC components so weak parts get replaced before they strand you without cool air.
Frequently Asked Questions
How can I quickly tell if my RV AC compressor is getting power?
With the thermostat set to Cool and a target temperature well below room temp, stand near the rooftop unit and listen. You should hear a click from the relay followed by a deeper hum if power is reaching the compressor. If the fan runs but there is no click or hum, either the control board is not sending power or the compressor circuit is open. Advanced users can have a technician meter voltage between the compressor’s common and run terminals while the unit is calling for cooling-120V present at those terminals with no motor movement indicates a mechanical compressor failure.
Can low campground power make the fan run but keep the compressor off?
Yes, this is very common. The fan motor draws far less current and may run even when voltage has sagged too low for the compressor to start safely. At many crowded campgrounds during July and August, voltage can drop under 108V when dozens of RVs run their air conditioners simultaneously. Using a surge protector or electrical management system with a voltage display lets you verify conditions before running the AC. If verification successful confirms adequate voltage and the compressor still won’t start, the problem is internal.
Is it safe to keep running the fan if the compressor won’t start?
Running just the fan usually won’t harm the AC unit, but it also won’t produce cold air because the compressor isn’t circulating refrigerant. If the compressor is repeatedly trying and failing to start-audible clicking or humming each cycle-shut the air conditioner off until the issue is found. Continuous failed start attempts can overheat capacitors, wiring, and the compressor’s internal windings. Think of it like a security service for your system: shutting down prevents further damage while you diagnose the real problem. Some sites performing security verification on electrical loads may temporarily block power, and malicious bots of electrical issues can cascade if ignored-so respond promptly (respond ray id errors on smart thermostats may also indicate communication faults).
Can a frozen evaporator coil stop the RV AC compressor from starting again?
Frozen coils mainly block airflow, which forces the compressor to work harder. The rising temperature triggers the thermal overload, temporarily shutting the compressor down. Once the coils thaw and the compressor cools, it may restart-but the underlying airflow problem (dirty filter, closed vents, low fan speed) still needs correction. Run the fan on high with cooling off to speed up thawing. Never chip ice off the coils, as that risks puncturing the refrigerant lines.
When should I stop troubleshooting and call a professional RV technician?
If basic checks-breakers, campground power, thermostat settings-don’t restore cold air and the compressor remains silent, professional help is wise. Any work involving live AC voltage tests, opening sealed compressor circuits, or replacing a control board carries real risk and is best left to an experienced technician. If you’re in southern Arizona, a mobile RV repair service in Tucson can diagnose and fix complex electrical or air conditioning issues right at your campsite. Repeated breaker trips under normal voltage, a strong electrical burning smell, or visible arc marks on wiring are urgent signs to shut the unit off and schedule service immediately. A plugged-in RV with active electrical faults is a fire hazard-don’t delay.