
Your Coleman Mach air conditioner stopped cooling in the middle of a July campground stay, and you need answers. This guide walks through every common failure, from a dead unit to weak airflow to water dripping inside the RV, with specific diagnostic steps you can follow before deciding whether to fix it yourself or call a technician.
Key Takeaways
Most Coleman Mach AC problems fall into five categories: no power, not cooling properly, fan not running, water leaks, and strange noises.
Before opening any access panel, check shore power or generator output, circuit breakers, and thermostat settings. Troubleshooting an RV air conditioner requires identifying power supply-related issues first.
Your model number and control box part number determine which replacement parts fit. Write them down or photograph the data plates before you start searching.
DIY troubleshooting covers cleaning, filter changes, capacitor checks, and basic wiring inspection. Diagnosing a bad compressor or a refrigerant leak requires a qualified RV technician with gauges and EPA certification.
Routine inspection of the unit’s mounting and seals can prevent water leaks, and cleaning air filters every 30 to 60 days during heavy use prevents most airflow problems.
Understanding Your Coleman Mach Air Conditioner
Coleman Mach is a brand under Airxcel that manufactures rooftop air conditioning systems for RVs, travel trailers, and fifth wheels. The Mach series (Mach 1, Mach 3+, Mach 8, Mach 10 NDQ, Mach 15, Mach HP2) covers cooling capacities from roughly 8,000 to 15,000 BTU. If your RV was built after the early 2000s, there is a good chance a Coleman Mach unit sits on your roof.
The main components work like any split air conditioner system. The rooftop housing contains the compressor, condenser coils, and condenser fan. Inside the RV, the ceiling assembly holds the evaporator coils, blower motor, and air filters. Between them sits the control box, which routes 120 VAC power to the compressor and fan based on signals from your wall thermostat.
Ducted Coleman Mach units push cooled air through ductwork to registers throughout the RV. Non-ducted models blow directly from the ceiling assembly into the living space. This distinction matters for troubleshooting: ducted systems can lose cooling through collapsed or disconnected ducts, while non-ducted systems depend entirely on the ceiling assembly and filter for airflow.
Most Coleman Mach AC units operate on 115 VAC / 60 Hz. The safe operating voltage range is approximately 105 to 125 VAC. Startup current typically runs about 2.5 times the rated running amps, which makes correct power supply and circuit breakers critical to reliable operation.
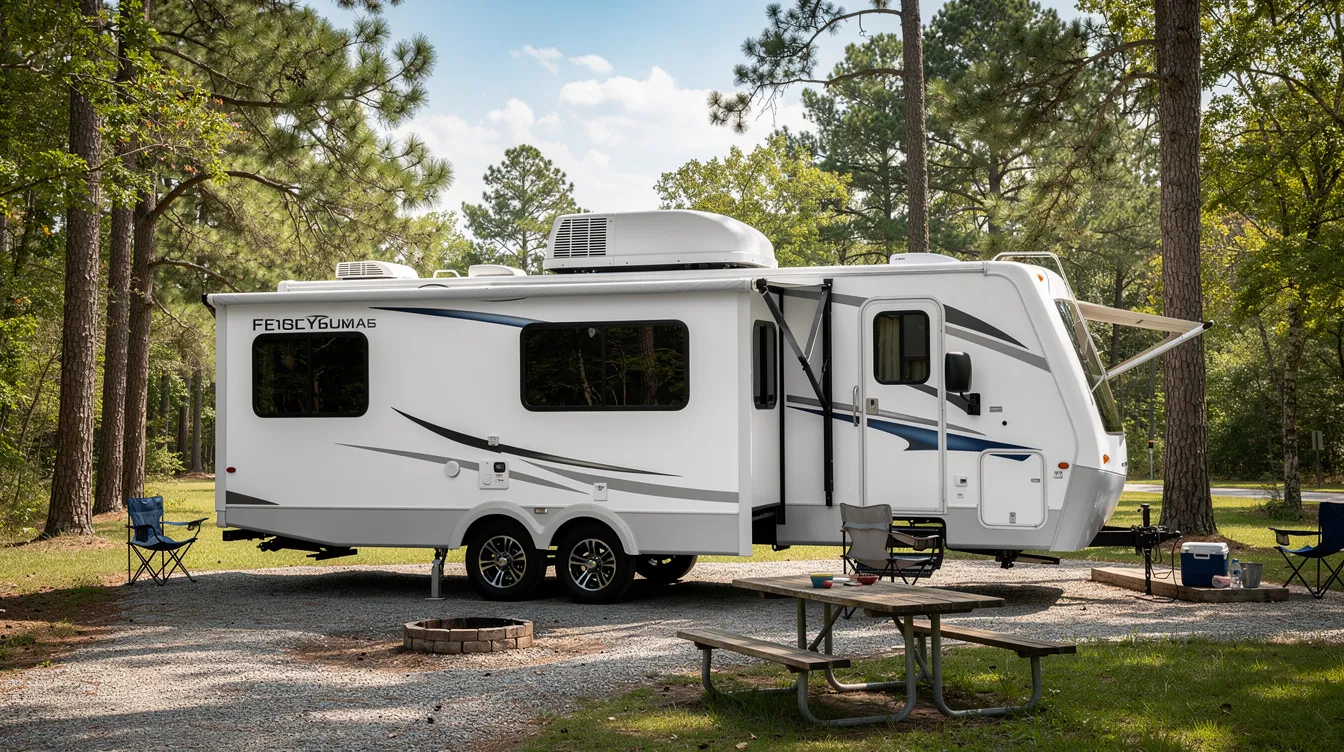
Safety First: Before You Start Any AC Troubleshooting
Disconnect all power before cleaning the air conditioner or accessing any internal components. Unplug shore power, shut off the generator, and switch off the RV’s main breaker. If your thermostat runs on 12 VDC from the coach battery, disconnect that too. Capacitors inside the control box and compressor circuit can hold a charge even after power is removed; wait at least five minutes before touching wiring.
Use a non-contact voltage tester or multimeter to confirm power is off before removing shrouds or panels. If you are not comfortable with basic electrical safety procedures, stop and call a professional.
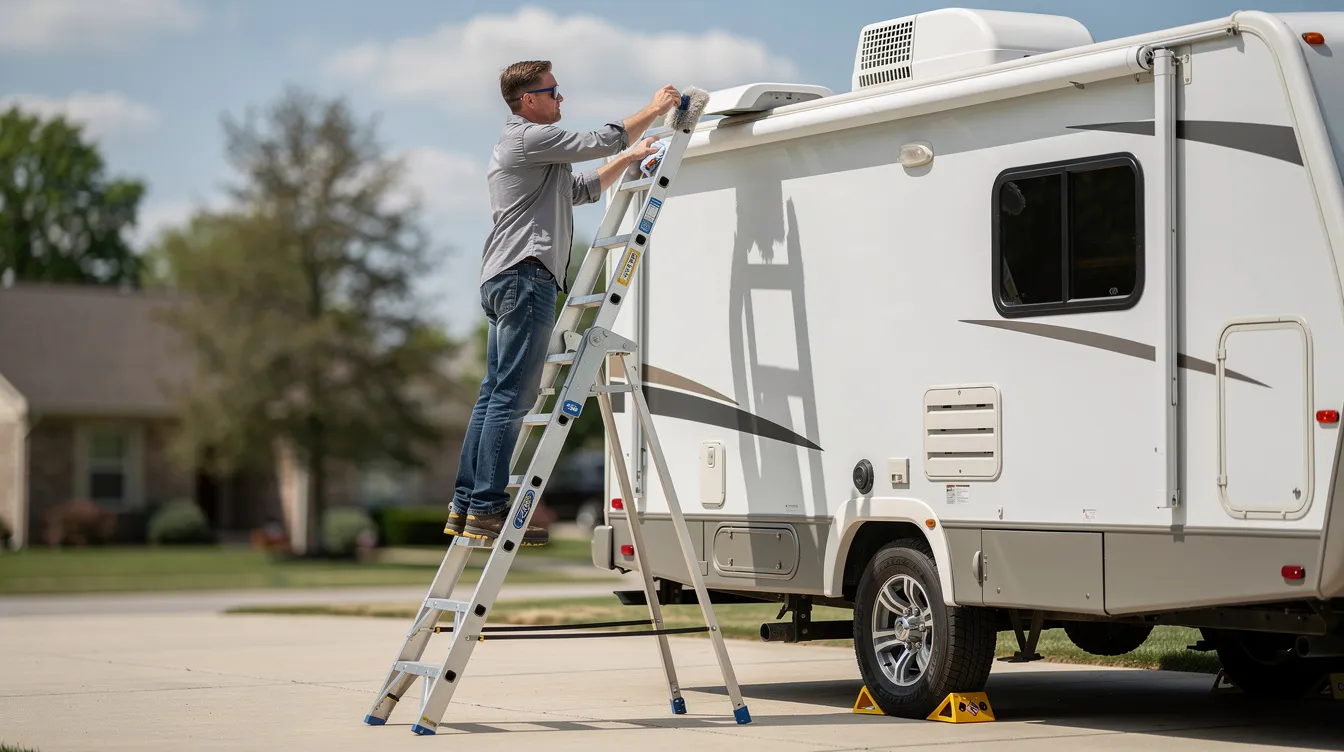
Common hazards include working on the roof (use a stable ladder, avoid wet or windy conditions), sharp metal edges inside the AC unit, and hot components if the appliance was running recently. Never open the sealed refrigeration system or attempt to add refrigerant yourself. This work requires EPA-certified equipment, and incorrect handling can damage the unit and violate federal regulations.
Quick Checks: Fast Things to Try When Your AC Stops Working
Before pulling out tools, spend five to ten minutes on these checks. They resolve a surprising number of Coleman Mach AC complaints.
Verify the shore power connection or generator operation for AC functionality. Confirm the RV’s main 30-amp or 50-amp breaker is on, then check for tripped circuit breakers or blown fuses on the branch circuit feeding the air conditioner.
Inspect the thermostat settings for proper operation. Set the mode to “Cool,” fan to “Auto,” and the set temperature at least 10°F below room temperature. If your thermostat uses batteries, replace them.
Turn the Coleman Mach air conditioner off at the breaker, wait five to ten minutes to let internal overloads and the control box reset, then restore power. Check thermostat settings after restoring power and test again.
Look for obstructions or blockages in the AC unit; check that supply registers are open and return air grilles are not covered.
If the rooftop unit hums briefly and shuts down, or keeps tripping the breaker, skip ahead to the electrical and compressor sections below.
Common Coleman Mach Problems and What They Mean
Most symptoms point to a short list of root causes. Once you identify which category your problem falls into, you can follow the matching section for a detailed walkthrough.
Symptom | Common Causes |
|---|---|
AC not running at all | Tripped breakers, faulty thermostat, dead control box, blown fuse |
Dirty filters, blocked condenser coils, low refrigerant, bad compressor | |
Fan not turning or weak airflow | Failed capacitor, seized motor bearings, obstructions |
Strange noises | Loose shroud screws, failing capacitor, worn motor bearings |
Water leaking inside | Blocked condensate drain, aged roof gasket, frozen evaporator coil melting |
Think of this table as a roadmap. The detailed sections below walk through each problem step by step. |
Air Conditioner Not Running (Dead or Won’t Start)
Coleman Mach ACs may fail to start due to power issues more often than from internal mechanical failure. Start your diagnosis at the power source and work inward.
Measure incoming voltage at the pedestal or generator outlet with a multimeter. The unit needs 105 to 125 VAC under load. In one documented case, a campground pedestal dropped to roughly 96 VAC when a Mach 15 compressor tried to start, causing repeated failures. Low voltage can prevent compressor operation entirely.
Inside the RV, inspect and reset the AC circuit breaker. Check the fuse panel for blown 12 V fuses if the thermostat is powered by the coach battery system. Many RVs also have GFCI outlets on the same circuit; a tripped GFCI can cut power to the t stat or the control box.
If you are comfortable with electrical work, try a simple thermostat test: disconnect the thermostat wires at the control box and temporarily jumper the “R” (power) and “Y” (cooling call) terminals. If the air conditioner starts, the issue is a faulty thermostat or its wiring. If 120 V is present at the control box but nothing happens, the control box relay or internal board has likely failed and needs replacement.
Air Conditioner Blows but Not Cooling Properly
“Blowing warm air” is one of the most common Coleman Mach complaints. Coleman Mach AC units may not cool properly due to airflow issues, coil contamination, or refrigerant system problems.
First, confirm the unit is in cooling mode, not “Fan Only.” Then measure the temperature at the return air filter and at the first supply register. A system working properly typically shows a 16 to 22°F drop between return and supply air. If the difference is only 5 to 8°F, something is wrong.
Ensure the air filter is clean to maintain airflow. Dirty filters clog fast in dusty campgrounds and during sustained summer heat. Clean or replace them as a first step. Next, inspect the outdoor condenser coils for dirt and debris to ensure cooling efficiency. One RV owner reported that cleaning a heavily clogged condenser coil restored the temperature drop from roughly 6°F back to the expected 18 to 20°F range.
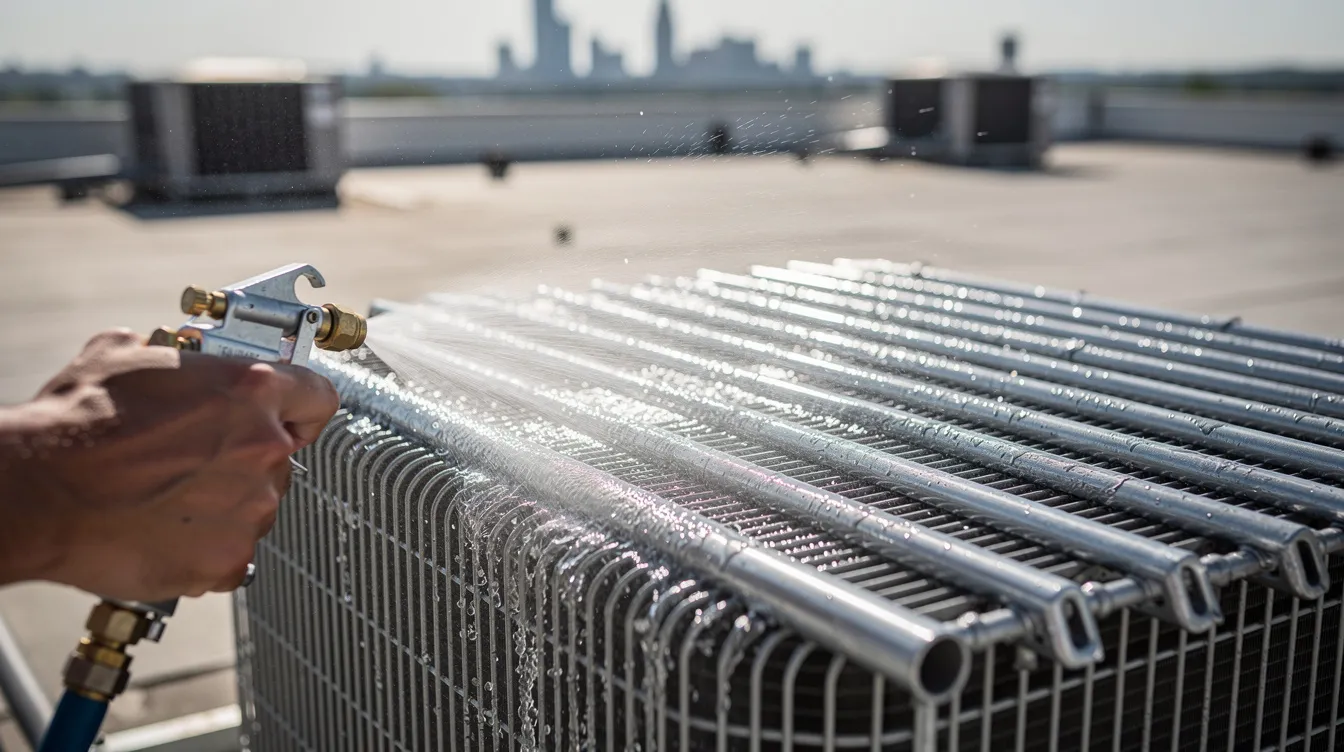
Inspect evaporator coils inside the ceiling assembly for dust buildup or ice. If airflow and coils are clean but supply air is barely cooler than return air, the problem points to low refrigerant or a bad compressor. Refrigerant leaks in Coleman Mach ACs are rare but can occur. In either case, call a qualified RV air conditioner technician with the proper gauges and certification.
Fan Motor Not Working or Weak Airflow
Symptoms here range from interior vents barely pushing air to the fan never spinning at all. A malfunctioning fan motor can prevent proper cooling in Coleman Mach ACs even when the compressor and refrigerant system are fine.
Check all supply vents and return grilles for obstructions around the air conditioner unit: plastic bags, pet hair, or aftermarket filters that restrict flow more than the original design intended.
With power off, remove the rooftop shroud and visually inspect the blower wheel and condenser fan. Wasp nests, leaves, and ice buildup can physically block rotation. A fan motor that hums but does not spin typically has a failed start capacitor, a seized bearing, or a damaged winding. If you have multimeter experience, test the capacitor’s µF value and compare it to the label rating; a reading more than 10 to 20% off means the capacitor needs replacement.
Replacement fan motors and capacitors must match the original specifications printed on the component label. Referencing the AC unit’s model number prevents ordering the wrong part. A motor from a Mach 3+ will not necessarily fit a Mach 10 NDQ, even though the units look similar externally.
Strange Noises from the Coleman Mach AC Unit
Rattling, buzzing, squealing, or grinding sounds from the rooftop unit each point to different problems.
Rattling often comes from loose shroud screws, metal panels, or ceiling assembly fasteners that vibrate at certain fan speeds. Tighten them with a socket or screwdriver and retest. Buzzing can indicate a failing capacitor or relay in the control box, especially if you hear the compressor trying to start and then stalling. A clicking sound followed by silence usually means a relay is engaging but the compressor cannot turn over.
Worn fan motor bearings create a high-pitched squeal or grinding noise. Running the unit in this state risks total motor failure and secondary damage to the blower wheel. Replace the motor before it seizes.
Any burning smell, repeated breaker trips, or loud electrical popping noises are signals to shut the unit off immediately and call a service technician. These indicate arcing or overheating inside the control box or wiring, which can cause a fire, and are best handled by professional mobile RV repair services rather than DIY troubleshooting.
Water Leaking or Dripping Inside the RV
Water dripping from Coleman Mach ACs is common in humid conditions; the evaporator coil naturally produces condensate as it pulls moisture from cabin air. That water should drain through channels in the rooftop pan and drip outside onto the roof. Water inside the RV is not normal.
Water leakage inside the RV often indicates blocked condensate drains. Dirt, algae, and debris plug the drain holes and channels over time. Shut power off, remove the shroud, and clear drain paths using a soft brush or pipe cleaner. Be careful not to damage coil fins.
A sagging or aged roof gasket around the AC unit can allow rainwater in. Visually check gasket compression around the four mounting bolts. If the gasket is cracked, flattened, or pulling away, re-torque the bolts evenly or replace the gasket. The Coleman-Mach parts catalogs list roof gaskets as standard replacement items.
Excessive ice buildup on the evaporator coil (from restricted airflow or very low fan speeds) can melt suddenly when the unit shuts off and overflow the drain pan. If you see ice forming, refer to the frozen coils section below.
Frozen Evaporator Coils and Short Cycling
Low airflow or low refrigerant charge can cause the evaporator coil to freeze into a solid block of ice. The AC then hits a safety limit, the compressor shuts off, the coil thaws, and the cycle repeats. This pattern of short cycling wastes power and delivers almost no cooling.
Signs to watch for:
Weak or no airflow from supply vents despite the fan running
Visible frost on the coil or copper refrigerant lines inside the ceiling assembly
The air conditioner running for a few minutes, shutting off, then restarting after 10 to 15 minutes
Turn the air conditioner off and let the coil thaw completely before restarting. Set the fan to high speed and use a moderate thermostat setting, then monitor whether ice reappears.
Verify clean air filters, open supply registers, and proper fan operation. Inadequate airflow is the most common cause of frozen coils. If freezing persists despite good airflow, insufficient refrigerant levels may indicate leaks requiring professional inspection. A technician can connect gauges, measure system pressures, and determine whether the system has a refrigerant leak or internal compressor issue.
Electrical and Control Box Troubleshooting
The control box is the central switch for many Coleman Mach air conditioners. It receives thermostat signals, routes 120 VAC power to the compressor and fan, and houses relays, capacitors, and overload protectors.
To safely access the control box, remove the interior ceiling assembly cover or the designated access panel (location varies by model). Power must be disconnected and capacitors discharged before touching anything inside.
Visually inspect for burnt spots, melted connectors, loose terminals, or corroded plugs. Overheated wiring and scorched relay contacts are common in units that have run on low voltage repeatedly.
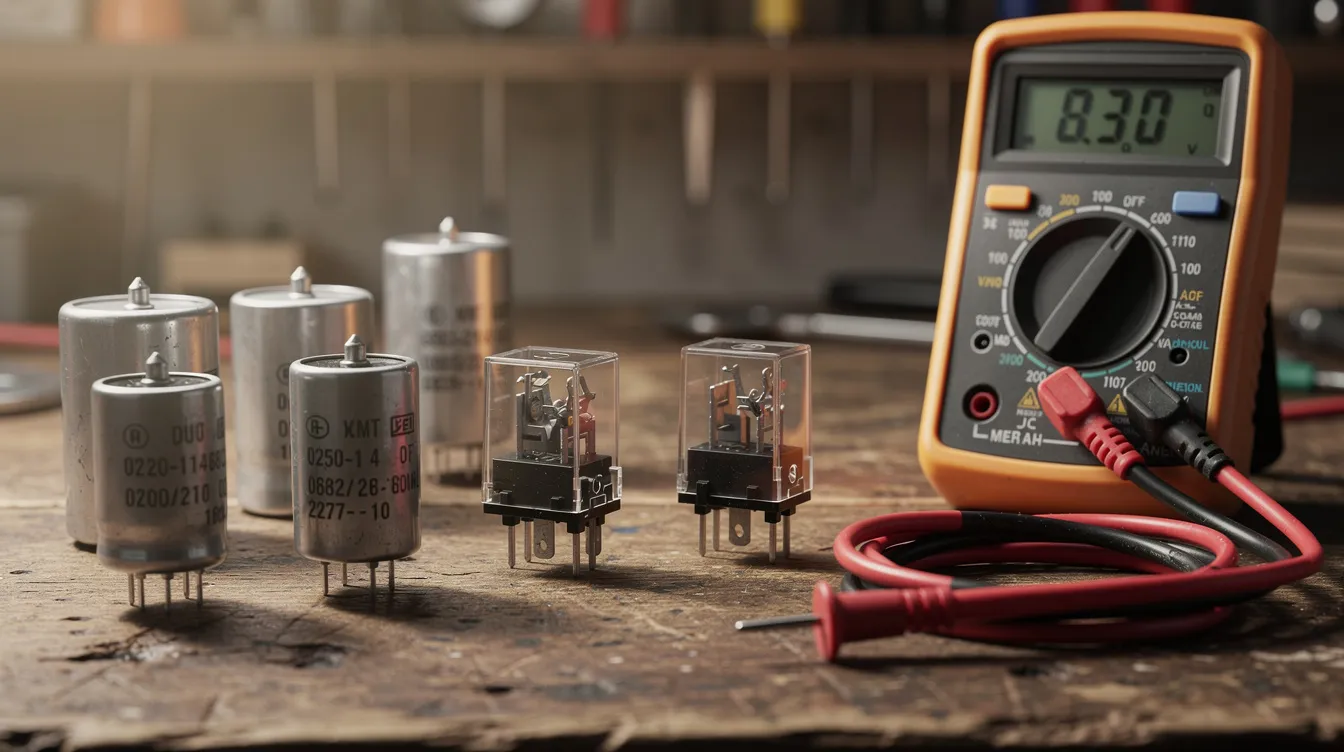
Test both start and run capacitors with a multimeter set to the µF function. Compare the measured value to the number printed on the capacitor label. Physical signs of failure include bulging tops, leaking fluid, or scorch marks.
Replacement control boxes must match the original part number. For example, the 2025 Coleman-Mach catalog lists cool-only boxes (like the 8430-3861), heat pump-capable boxes (like the 8530-5091), and digital variants (like the 9430A751). Installing a cool-only box when a heat pump box is needed, or pairing an incompatible control box with digital thermostats, creates new electrical problems.
How to Check for a Bad Compressor
The compressor is the most expensive single component in a Coleman Mach AC unit. Replacing just the compressor often costs close to the price of a new rooftop unit, factoring in labor, refrigerant, and associated parts.
Symptoms of a bad compressor include loud humming without starting, repeated circuit breaker trips when the compressor tries to engage, or the fan running with zero cooling despite clean coils and good airflow.
For experienced DIYers, here is a high-level check: with power off and capacitors discharged, locate the compressor terminals labeled C (Common), S (Start), and R (Run). Use a multimeter to test the compressor’s voltage across each winding pair (C-S, C-R, S-R). Normal readings will show measurable resistance on all three pairs, with C-S plus C-R roughly equaling S-R.
An open circuit on any pair, a short to ground (measure each terminal to the compressor case), or wildly imbalanced ohm values indicates a failed compressor. Normal readings redirect suspicion back to capacitors, the control box, or the power supply.
If the compressor is confirmed bad on a unit older than roughly 8 to 10 years, many RV owners replace the entire rooftop AC rather than swapping just the compressor. The math usually favors a new unit once you account for the age of remaining components and the cost of a soft start kit, new capacitors, and technician labor.
Using the Model Number and Part Numbers to Find Correct Components
Use the model number to find accurate replacement parts. Ordering based purely on “Coleman Mach AC” or BTU rating alone leads to compatibility problems with wiring, thermostat connections, and physical fit.
The AC unit model number is typically stamped on a metal data plate under the rooftop shroud or on the side of the chassis. The serial number is usually on the same plate. If your RV’s original documentation is still available, it may also list the model. A model number decoder from RV Products explains how strings like “4X2XX-XXX” encode BTU rating, AC vs. heat pump capability, and revision level.
The control box has its own label and part number, which governs thermostat compatibility more directly than the rooftop unit’s model number. Using a cool-only control box where a heat pump box is required will prevent heat mode from functioning.
Photograph every data plate and label before climbing down from the roof. Air filters, ceiling assemblies, thermostats, and motors each carry separate part numbers. Having these on your phone saves time when searching online or calling a dealer.
Routine Maintenance to Prevent Future Problems
Regular maintenance is the cheapest form of Coleman Mach troubleshooting. A few hours per season prevents most emergency failures.
Clean or replace air filters as needed, every 30 to 60 days during heavy cooling seasons, and at the start and end of each camping season.
Clean the outside coil at least once a year. Use a soft brush and low-pressure water to remove debris from condenser coils on the roof. Straighten bent fins with a fin comb to restore efficient airflow.
Inspect AC components regularly to identify potential issues. Check ceiling assembly screws, rooftop shroud fasteners, and AC mounting bolts once or twice a year. Loose hardware causes rattles, vibration, and gasket leaks.
Keep simple records noting maintenance dates, issues found, and any replacement parts with their part numbers. This log makes future troubleshooting faster and helps technicians diagnose recurring problems.
Coleman Mach’s FAQ page notes that motors are sealed and require no lubrication. Correct voltage, clean filters, and annual coil cleaning are the three maintenance items with the largest impact on unit life and performance.
When to Call a Professional RV AC Technician
Some Coleman Mach AC issues sit outside the scope of safe DIY repair. Knowing when to stop saves money and prevents secondary damage.
Call a professional when you encounter:
A suspected refrigerant leak or confirmed low refrigerant charge
A confirmed bad compressor (failed winding test, mechanical seizure)
Repeated breaker trips with no obvious cause after checking wiring, capacitors, and voltage
Burnt wiring, melted connectors, or a strong burning odor from the control box
Persistent cooling failures after filters and coils have been cleaned
An experienced technician can connect gauges to measure system pressures, test capacitors and motors under load, and confirm whether the AC unit is economically repairable. RV owners in the Southwest can often schedule mobile RV AC repair in Tucson, AZ to get this level of diagnostic support on-site. Ask them to show you any failed parts (a swollen capacitor, a burnt control box) so you understand what went wrong.
During busy summer months, RV service centers book out weeks in advance. An early diagnostic visit in spring gives you time to order parts and schedule repairs before your first trip of the season.
Frequently Asked Questions (FAQ)
How do I reset my Coleman Mach air conditioner if it stops working suddenly?
Turn off the power before resetting the AC unit. Set the thermostat to “Off,” switch the RV’s AC breaker off, and unplug shore power or shut down the generator. Wait five to ten minutes to allow internal overloads and the control box to discharge. Restore power, reset the breaker, and set the thermostat back to “Cool.” Test the unit after completing the reset process. Inspect for tripped circuit breakers after a reset if the unit still does not respond.
Some digital thermostats support a specific reset sequence, like holding certain buttons for several seconds. Consult your thermostat manual for model-specific instructions.
Why does my Coleman Mach AC keep tripping the circuit breaker?
Tripped breakers happen when current draw exceeds the breaker’s rating. The most common triggers are low campground voltage (below 105 VAC under load), an undersized extension cord causing voltage drop, or a compressor that is hard-starting due to a weak start capacitor. Using a long, light-gauge extension cord between the pedestal and RV inlet drops voltage and forces the compressor to pull higher amps to compensate.
Measure voltage at the outlet under load. If it sits in the 105 to 125 VAC range and breakers still trip, have a technician inspect the compressor windings, capacitors, and control box. Adding a soft start module can reduce inrush current by spreading the compressor startup over a longer interval, which helps in marginal voltage situations.
Can I add refrigerant to my Coleman Mach air conditioner myself?
Rooftop RV air conditioners are factory-sealed systems. They are not designed for homeowner recharging the way some automotive systems are. Connecting gauges and adding refrigerant requires specialized tools, knowledge of correct charge levels, and EPA certification in many regions. The Coleman-Mach service manual states that the sealed system should only be serviced by qualified technicians. If low refrigerant or a leak is suspected, call a professional instead of attempting DIY refrigerant work.
How do I know if my thermostat or the control box is the problem?
If the thermostat display is blank or unresponsive despite having 12 V or battery power, the thermostat itself is likely at fault. If the thermostat appears to function but the AC does not respond, jump the R and Y terminals at the control box (with power on, carefully). If the AC starts when you bypass the thermostat, the problem is the thermostat or its wiring. If nothing happens and 120 VAC is confirmed at the control box input, the control box relays or circuit board have failed. Replacement control boxes must match the original part number and be compatible with your thermostat type (mechanical, digital, or smart).
Is it better to repair or replace an older Coleman Mach AC unit?
For units over about 8 to 10 years old with a major failure (bad compressor, severe coil corrosion, repeated control box failures), a full rooftop replacement is often more cost-effective than piecemeal repairs. A new compressor plus labor and refrigerant can approach the installed price of a new unit, and the remaining old components (fan motors, coils, wiring) continue to age. Newer Coleman Mach air conditioners offer improved efficiency and compatibility with updated digital thermostats when paired with the correct control box. Compare a written repair estimate against the price of a new unit plus installation, factoring in how many more years you plan to use the RV.