A rooftop air conditioner that refuses to start on a 95°F afternoon is one of the worst surprises in RV camping. The culprit is often a small metal can worth $30 to $80: the AC capacitor. Knowing the warning signs of a failing AC capacitor before it dies completely can save your compressor, your trip, and your wallet. This guide covers every symptom, how to tell capacitor failure apart from other problems, what replacement costs, and how to prevent it from happening again.
Key Takeaways
A weak or bad RV AC capacitor causes humming without startup, clicking, the outdoor fan not spinning, warm air from the vents, or repeated circuit breaker trips when the air conditioner tries to start.
Recognizing common signs of capacitor failure early can protect the AC compressor from burnout and prevent a full rooftop AC unit replacement that can run $600 to $2,900.
Buzzing noises, a slow or failed AC run startup, and breaker trips are the most frequent indicators of capacitor problems in RV rooftop air conditioners.
DIY capacitor work involves high-voltage risk; capacitors can hold a charge of 300+ volts even after the power is off. Many RV owners should call a professional rather than attempt repairs on the AC capacitor themselves.
This article walks through symptoms, diagnosis, causes, repair options, costs, and prevention tips for RV air conditioner capacitors.
What an RV AC Capacitor Does (in Plain English)
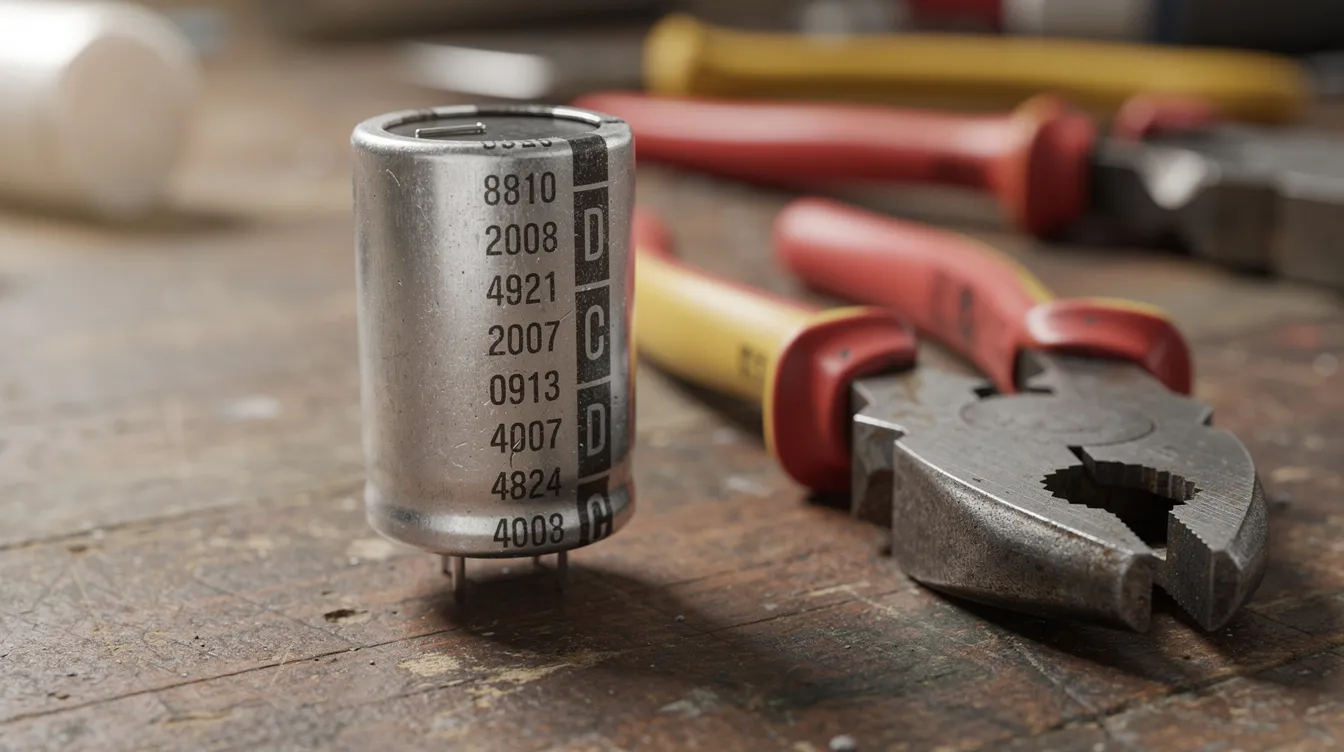
The RV AC capacitor is a small cylindrical metal can mounted inside the rooftop air conditioner’s electrical compartment. It stores electrical energy and releases it in a quick burst when the system calls for cooling.
That burst gives the AC compressor and fan motor enough power to overcome the initial resistance of starting up, especially on hot summer days when the motor has to fight higher ambient temperatures. Think of it as a mini battery that fires once, then helps sustain smooth motor operation during the cooling cycle.
Most late-model RV rooftop units use either a separate start capacitor and run capacitor, or a single dual run capacitor that serves both the compressor and the fan. A typical dual run capacitor is rated something like “40 + 5 µF,” where the larger section supports the compressor and the smaller section supports the fan motor.
When this inexpensive part fails, the symptoms often mimic a dead compressor or a completely broken AC unit. That’s why technicians check the capacitor first; replacing it is far cheaper than replacing the compressor.
Common Signs Your RV AC Capacitor Is Going Bad
RV air conditioners usually warn you before the capacitor completely dies. The warnings show up as unusual noises, startup trouble, or electrical problems at the breaker panel.
Common symptoms of a failing RV AC capacitor include intermittent operation and delayed starts. Here are the most reported signs:
Humming from the rooftop unit without the compressor or fan starting
The outdoor fan not spinning or spinning slowly while the compressor buzzes
The AC blows warm air even though the interior blower runs fine
The unit clicks off after a few seconds and tries again repeatedly
Frequent breaker trips every time the system attempts to start
Delayed startup, where the unit hesitates several seconds before the compressor kicks in
These common signs often appear first on a hot afternoon in July or August, when demand on the capacitor is highest and campground voltage may be sagging. Catching capacitor problems at this stage prevents damage to the AC compressor and saves you from losing cooling mid-trip.
The sections below break each symptom down so you can match what you hear and see to likely capacitor trouble.
The Classic “Hum and Click” Symptom
Picture this: thermostat set to cool, outside temperature in the upper 80s. The rooftop AC unit tries to start. You hear a low humming or buzzing noise from the roof for one to three seconds. Then a click, then silence. A few minutes later, it tries again with the same result.
A failing RV air conditioner capacitor often produces a distinct humming sound without the fan or compressor starting. The hum comes from the compressor or fan motor receiving voltage but not getting enough starting torque from the weakened capacitor. A humming noise indicates the capacitor struggles to start the motor.
The click is typically an internal thermal overload or safety switch opening to protect the motor from overheating. If the overload did not trip, the motor would draw locked-rotor current until the winding insulation failed.
Repeating hum-and-click cycles every few minutes point to capacitor failure rather than thermostat issues. A thermostat or control board problem would produce no hum at all, because the motor would never receive power in the first place.
An RV repair lab case study documented a unit where the start capacitor had lost nearly 50% of its rated capacitance. The compressor hummed for one to three seconds, then the breaker tripped. After a new capacitor was installed, the unit started normally. Continuing to run the air conditioner through these hum-and-click cycles can overheat the compressor and lead to motor failure that costs far more to fix.
RV AC Fan Not Spinning or Spinning Slowly
Sometimes the rooftop air conditioner turns on and you hear the compressor buzzing, but the condenser fan on top of the AC unit stays still or spins weakly. An outdoor fan that won’t spin is a classic indicator of capacitor failure on the fan side of a dual run capacitor.
In a typical dual-capacitor system, the smaller section (often rated around 5 µF) provides the phase shift the fan motor needs to start. When that section fails, the motor receives voltage but cannot generate enough torque to turn the blades. Some RV owners first notice this when they step outside and see motionless fan blades through the shroud while the compressor hums underneath.
Running the AC system without a working condenser fan prevents the unit from being able to remove heat from the refrigerant. The compressor temperature climbs rapidly. Within minutes, the thermal overload trips, or worse, the compressor sustains internal damage.
Do not stick fingers or tools through the shroud to “push start” the fan. If the capacitor works intermittently, the motor can start suddenly with enough force to cause injury.
Warm Air or Weak Cooling from the RV Air Conditioner
You set the thermostat to 72°F, the interior blower pushes strong air through the ceiling vents, but after 15 minutes the RV still feels like an oven. The air from the vents is lukewarm at best.
An interior blower fan may run but produce warm air if the compressor is not engaging. When the rooftop AC compressor cannot start because of a bad capacitor, the air conditioner only circulates uncooled air. Warm air from vents suggests a bad capacitor prevents cooling.
This symptom gets mistaken for low refrigerant or restricted airflow from dirty coils. The difference: if the blower runs strong but you also hear humming, clicking, or repeated restarts from the rooftop unit, the problem points toward capacitor failure rather than a refrigerant leak. With low refrigerant, the compressor typically starts and runs but cooling performance drops gradually over weeks. With a bad capacitor, the loss of cooling is sudden.
Owners often notice this first on long travel days in late June or early July when the inside of the RV won’t drop below the mid-80s °F. If the outdoor unit makes straining sounds while air stays warm, shut the system off and have the capacitor tested before additional damage occurs.

RV AC Keeps Tripping the Circuit Breaker
The RV’s electrical panel has a circuit breaker that controls the rooftop air conditioner, typically rated at 20 to 30 amps depending on the unit. When this breaker trips every time the AC kicks on, a failing capacitor is one of the most common reasons in otherwise healthy RV units.
A weak start capacitor forces the compressor to draw higher starting current than normal. Tripping the circuit breaker indicates a failing RV AC capacitor due to excessive electrical current. The breaker does its job by opening the circuit before wiring overheats.
Repeated breaker trips are especially common during peak afternoon heat, and worse when campground voltage sags below 108 to 110 volts on a 120V system. Low voltage reduces the motor’s back-EMF, which means the motor pulls even more current. Combined with a weak capacitor, the breaker has no choice but to trip.
Do not keep resetting a tripping breaker. Each reset forces another high-current attempt that can overheat wiring insulation and create fire risk. Repeated circuit breaker trips caused by a failing capacitor need diagnosis, not repeated resets.
While shorted motor windings or a seized compressor can also cause breaker trips, a bad capacitor remains the cheapest and most likely suspect when the unit was running fine last season.
Buzzing Noises and Unusual Sounds from the Roof AC Unit
Buzzing noises, loud humming, or a chattering rattle from the rooftop AC unit during startup are common symptoms of capacitor problems. The sound comes from motors receiving voltage but not turning because they are not getting the proper boost from the capacitor.
Two patterns RV owners frequently report:
A constant low buzz with no fan motion, lasting several seconds before the unit shuts off
A buzz that stops abruptly after a click (the thermal overload tripping)
Both patterns indicate a motor trying and failing to start. The buzz itself is the motor winding creating a magnetic field that vibrates the stator but cannot produce rotation.
High-pitched squeals or grinding sounds, on the other hand, are more likely mechanical; a worn fan bearing, debris caught in the shroud, or a loose mounting bracket. Those need attention too, but they are not capacitor-related.
If the air conditioner suddenly sounds different than it did last season, schedule an electrical inspection. Unusual noises during startup are one of the earliest warning signs of a failing capacitor that has not yet completely died.
Visible Signs: What a Bad RV AC Capacitor Looks Like
Some AC capacitors show obvious physical damage long before they completely stop working. After removing the rooftop shroud and locating the electrical compartment, a technician looks for these visual clues:
Bulging or domed top: A normal capacitor top is flat. Any swelling indicates internal pressure from dielectric breakdown or repeated overheating.
Split or cracked plastic sleeve: The protective wrap torn, loose, or peeling away from the metal can.
Leaking oil or stains: Electrolyte seeping from seals leaves an oily film around the base or terminals. Leaking oil is a clear sign the capacitor’s internals have failed.
Burnt or discolored terminals: Black, brown, or corroded terminal lugs suggest arcing or sustained overheating from damaged wiring connections.
Rust or moisture damage: Corrosion around the mounting flange or base from water intrusion under the shroud.
Visual inspection for bulging, oily leaks, or burn marks can indicate capacitor failure. Inspect the capacitor for bulging or leaks before testing with a meter.
Do not touch or disconnect a capacitor just to look closer. Even with the power off, it can still hold a dangerous charge. A 10mF capacitor can hold enough energy to deliver a serious shock.
A capacitor that looks physically normal can still be weak internally. Electrical testing with a multimeter is more reliable than visual inspection alone.
How to Tell Capacitor Failure from Other RV AC Problems
Many RV AC symptoms overlap. No cooling, loud noises, or a unit that won’t start could stem from thermostat issues, a bad fan motor, a failed compressor, or a failing capacitor. Here is how to narrow it down:
Symptom | Likely Cause |
|---|---|
Blower inside never turns on | Thermostat, control board, or blower motor |
Blower runs, rooftop unit hums but never starts | Capacitor failure (most common) |
Compressor starts but shuts off in a few seconds | Weak capacitor, thermal overload, or low refrigerant |
Compressor runs, fan spins, but cooling is weak | Dirty coils, low refrigerant, or restricted airflow |
Nothing happens at all; no sounds, no blower | Electrical supply, breaker, or wiring issue |
When the compressor’s ohm readings and insulation resistance test are normal but the AC won’t start reliably, the capacitor is the first electrical component technicians replace. It is one of the cheapest parts and the most frequent failure point. |
A licensed HVAC technician or qualified RV technician can confirm the diagnosis with a multimeter and clamp meter instead of guessing based on noise alone.
Why RV AC Capacitors Fail: Common Reasons
Most RV AC capacitors do not last the full life of the air conditioner. A capacitor typically lasts 5 to 10 years, though some sources cite most AC capacitors lasting between 8 and 15 years under mild conditions. In RV rooftop applications, the harsher environment usually pushes lifespan toward the lower end.
Common reasons for premature failure:
Normal wear and tear: Normal wear and tear causes most capacitor failures. Every startup cycle draws from the capacitor’s stored energy, and the internal dielectric degrades over thousands of cycles.
Extreme summer heat: RV rooftop surfaces can exceed 150°F under direct sun. Extreme summer heat can shorten capacitor lifespan by accelerating dielectric breakdown.
Voltage fluctuations and power surges: Campground shore power often dips below 110V during peak demand. Power surges can damage or weaken AC capacitors. Running on low voltage forces motors to draw more current, adding stress to the capacitor with each start.
Poor maintenance: Dirty condenser coils force the compressor to work harder and run longer. Poor maintenance can lead to faster capacitor failure because the electrical components never get a break.
Frequent on/off cycling: Undersized or poorly insulated RVs cause the thermostat to cycle the AC on and off repeatedly. Each start is a high-load event for the capacitor and AC compressor.
RVs camping in Arizona, Texas, or Florida see the worst of all these factors at once, and many owners in southern Arizona rely on mobile RV repair in Marana when rooftop AC problems appear mid-season.
Testing an RV AC Capacitor Safely (High-Level Overview)
This section covers the general process, not a step-by-step DIY procedure. Working inside a rooftop AC electrical compartment carries real shock and fall hazards.
Technicians test capacitors by using a multimeter set to the capacitance (µF) function. They compare the measured value to the rating printed on the capacitor label. Capacitors must be disconnected for accurate testing; reading through the circuit gives false results.
The basic sequence:
Power off completely: open the RV’s main breaker, unplug shore power, shut down the generator.
Safely discharge the capacitor using a 100K ohm resistor or an insulated discharge tool across the terminals. Capacitors can hold a charge of 300+ volts even after the system is powered down.
Photograph the wiring arrangement, then disconnect leads.
Measure capacitance. If the reading falls outside ±6% of the rated value, the capacitor is considered weak or failed.
Check terminals for corrosion or burn marks.
Replacement capacitors must match the original’s µF and voltage rating. Installing the wrong value can damage the motor or cause the new capacitor to fail quickly.
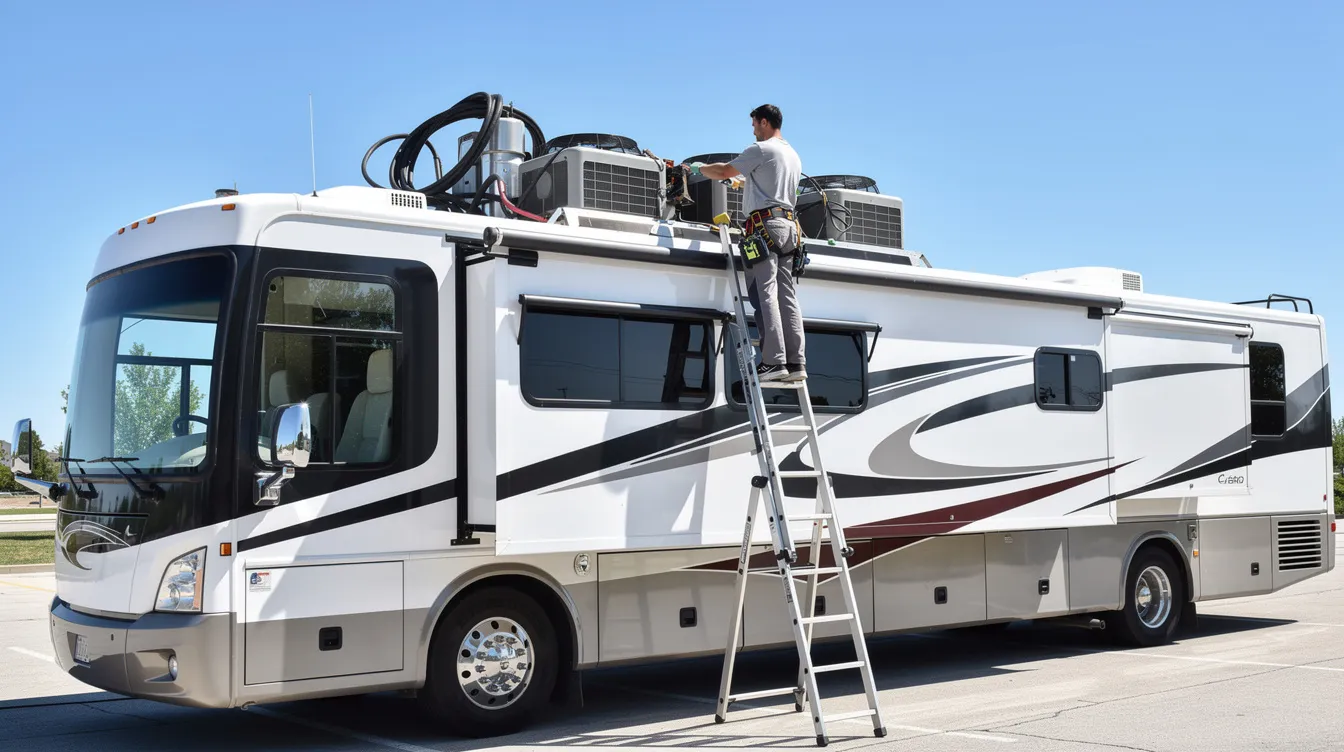
If you are not comfortable with high-voltage measurements on a rooftop, hire a qualified RV technician. The cost of a service call is small compared to the risk.
Can You Still Run an RV Air Conditioner with a Bad Capacitor?
An RV air conditioner will often not start at all with a completely failed capacitor. If it does start intermittently, continued operation is unsafe for the system.
A weak capacitor might allow occasional compressor starts, but each start involves hard starting, loud humming, and high inrush current. A failing capacitor can lead to increased energy bills because the motor draws more power trying to overcome the weak assist. A bad capacitor can cause the compressor to burn out over time, turning a $30 to $80 capacitor problem into a $1,000+ compressor failure. Replacing a capacitor can prevent costly repairs up to $1,200.
Ignoring capacitor issues can damage other HVAC components: fan motors overheat, contactors arc, and wiring connections degrade from repeated high-current events.
If you need some cooling while waiting for repair, switch to portable fans or a secondary cooling method. Replacing a capacitor can prevent compressor damage that would otherwise end the useful life of the entire AC unit.
Continued operation with obvious capacitor symptoms is not worth the risk. Shut the system off and get the part replaced.
Safety Considerations Before Any RV AC Capacitor Work
RV AC capacitor replacement involves working on a 120V circuit mounted high on the RV roof. Both electrical and physical hazards are real.
Before opening the electrical compartment:
Shut off the RV’s main breaker
Unplug shore power
Turn off the generator
Verify zero voltage at the AC unit with a non-contact voltage tester
Capacitors can hold a charge of 300+ volts. Safely discharge them using a 100K ohm resistor across the terminals before touching anything. Even a 10mF capacitor can hold a dangerous charge.
Additional hazards:
Metal roofs are slippery, especially when wet
Ladders must be stable on level ground
Wind can affect balance on the roof
Wet conditions increase shock risk
Professional replacement by a qualified HVAC technician or mobile RV repair service is the safest option for owners who are not completely comfortable with high-voltage electrical work, and RV owners in southern Arizona can turn to mobile RV AC repair in Tucson for on-site diagnosis and capacitor replacement. The service cost is modest compared to the risk of injury or further damage to the unit.
Typical Cost to Diagnose and Replace an RV AC Capacitor
Capacitor replacement is one of the most affordable RV air conditioner repairs, especially compared to a compressor or fan motor swap.
Cost Category | Typical Range |
|---|---|
Capacitor part only | $25 to $80 |
Mobile technician: diagnosis + replacement | $150 to $350 |
Compressor replacement (for comparison) | $600 to $1,200+ |
Full rooftop AC unit replacement | $600 to $2,900 |
Repair costs climb fast when a bad capacitor is left in place. Burnt compressor windings, damaged wiring, or a seized fan motor can push the total well above $1,000 or force a full AC unit replacement. |
A working capacitor is cheap insurance. Many mobile RV technicians stock common dual run capacitor sizes and can replace one same-day. Some shops include diagnosis free of charge if you proceed with the repair.
Regular maintenance inspections each spring, before hot weather arrives, can catch a weak capacitor before it fails during peak season. That avoids emergency service fees at crowded campgrounds where wait times for a technician can stretch to days.
How to Reduce Future Capacitor Problems and Extend RV AC Life
No capacitor lasts forever, but regular maintenance reduces the odds of failure at the worst possible time.
Practical steps:
Clean condenser coils at least once a year. Dirty coils block proper airflow, force the compressor to run longer, and add heat stress to electrical components.
Clear debris from around the rooftop unit shroud: leaves, bugs, and road grime restrict airflow across the condenser.
Keep interior filters clean. Clogged return filters reduce airflow across the evaporator, which makes the whole system work harder.
Use a surge protector or EMS (Electrical Management System) on your shore power connection. These devices protect the capacitor and compressor from power surges and disconnect when voltage drops below safe levels.
Minimize unnecessary cycling. Set the thermostat to a steady temperature rather than switching the AC on and off manually. Each start is a high-current event for the capacitor.
Schedule a professional AC check each spring if you camp frequently in hot climates. A technician can test capacitor capacitance, check amp draw, and spot early signs of electrical stress before they become a mid-trip breakdown.
Proper airflow across both coils, stable voltage, and fewer start cycles are the three factors that do the most to extend capacitor and compressor life.

Frequently Asked Questions About RV AC Capacitor Symptoms
How long does an RV AC capacitor usually last?
Many RV AC capacitors last around 5 to 10 years under typical use. Some capacitor manufacturers rate their products for 8 to 15 years, but that assumes moderate temperatures and stable voltage. Heavy summer camping in hot regions, frequent start-stop cycling, and rooftop heat exposure all shorten that window. Vibration from driving also stresses internal connections in ways that stationary home air conditioner capacitors never experience.
Are RV AC capacitor symptoms different from home AC symptoms?
The core symptoms are the same: humming, fan not spinning, warm air, breaker trips, and buzzing noises. The difference lies in environment, not behavior. RVs experience more voltage fluctuations at campgrounds, more physical vibration from travel, and more extreme rooftop temperatures than a residential AC condenser sitting on a concrete pad. These factors make capacitor failure slightly more common in RVs than in home systems of similar age.
Can low campground voltage cause RV AC capacitor failure?
Yes. Operating an RV air conditioner on sustained low voltage (below about 108 to 110 volts on a 120V system) forces the compressor and fan motor to draw higher current. That extra current stresses the capacitor on every startup and during continued operation. A quality RV surge protector or EMS that disconnects power when voltage is dangerously low protects both the capacitor and the compressor from this kind of damage.
Is it dangerous to touch an RV AC capacitor?
A charged capacitor can deliver a painful and potentially dangerous shock. Capacitors can hold a charge of 300+ volts even after the AC unit is powered off. Only trained individuals with insulated tools should safely discharge and replace capacitors. Most RV owners are safer leaving this work to a professional, especially given the added hazard of working on a rooftop.
Should I replace the capacitor anytime I replace an RV AC fan motor or compressor?
Many technicians recommend installing a new, properly rated run capacitor whenever a fan motor or compressor is replaced. An old or weak capacitor can shorten the life of the new component by forcing hard starting from day one. Since capacitors cost $25 to $80 while motors and compressors run into hundreds or thousands, replacing them together is inexpensive preventive maintenance that protects your investment in the larger repair.