When your RV air conditioner stops cooperating in the middle of summer, the culprit is often hiding in plain sight. The control board is the brain of your AC system, and when it fails, the symptoms can mimic everything from a dead compressor to a malfunctioning thermostat. This blog walks you through how to identify RV AC control board problems, what to check before spending money, and when it makes more sense to replace the entire unit.
Key Takeaways
Here is your quick-answer summary before we dive into the details:
Many mystery RV AC problems-no power, random shut-offs, erratic cooling-often trace back to a faulty control board rather than the rooftop AC unit itself.
Common symptoms of control board failure include the AC unit not turning on, the fan running with no compressor engagement, intermittent cycling, a burnt electronics smell, or flashing fault LEDs.
Checking power supply and breakers is essential for diagnosing control board issues. Always verify fuses, thermostat wiring, and both 120V and 12V supply before condemning the board.
A faulty capacitor can prevent the AC from turning on and closely mimics board failure-check it first.
Replacing the control board is usually more practical than attempting to repair its circuitry.
How the RV AC Control Board Works (and Why It Fails)
The control board is the brain of your RV air conditioner. It coordinates signals between the thermostat, fan motor, and compressor to deliver cold air on demand. RV air conditioning control boards manage signals from thermostats and power distribution to components like the fan and compressor relay.
In simple terms, the board receives a low-voltage signal (typically 12V or 24V DC) from your thermostat, then switches 120V AC power to the fan and compressor. It also manages delay timers that prevent short cycling and enforces safety lockouts. Proper voltage supply is necessary for the adequate functioning of RV AC units-manuals typically specify operation between 108V and 132V AC.
Control boards are vulnerable to power surges, vibration, and moisture, leading to system failures. Common causes include:
A power surge at a campground pedestal or lightning strike
Low-voltage brownouts from weak shore power or undersized generators
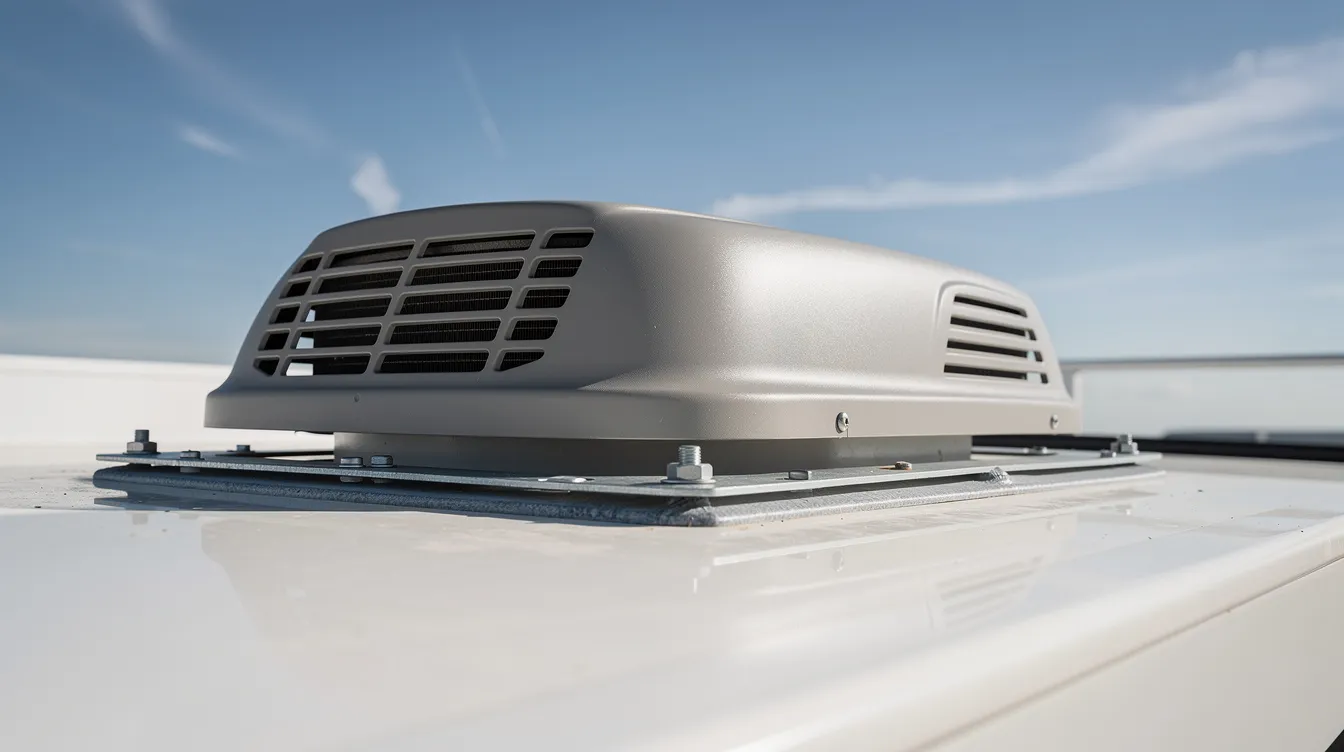
Moisture intrusion under the rooftop shroud from cracked seals or condensation
Vibration from rough roads cracking solder joints
Age-related component wear (dried-out capacitors, fatigued relays)
Units from major brands like Coleman-Mach, Dometic, and Furrion built from 2010 onward commonly use modular control boards that can be swapped without replacing the whole AC unit.
Common RV AC Control Board Symptoms & What They Mean
Once you have ruled out the basics, several generic AC problems point specifically to a bad control board.
No operation at all. Your RV AC won’t turn on-no fan, no compressor-even though shore power is flowing, interior 12V systems work, and no tripped breaker is found. This usually means the board is not sending power onward through its relays.
Fan runs but no cooling. The fan spins fine, but the compressor never starts even with the thermostat set well below ambient. After ruling out a bad capacitor, burned relays or failed compressor outputs on the board are the likely suspects. A malfunctioning compressor can also result in warm air blowing, so verify both.
Short cycling. The AC turns on, blows cool air for roughly 30 seconds, then shuts off for 90 seconds and repeats. Low campground voltage can cause AC short cycling, as can a failing start capacitor, but faulty control logic or intermittent board connections play a role too.
Physical damage. Buzzing or chattering relays, visible scorch marks, melted plastic, or a burnt smell when the air conditioner tries to start are strong signs the control board needs replacement. Burn damage, overheating components, and corrosion are textbook indicators of board failure.
Fault codes. Some boards include diagnostic LEDs that flash error codes. Check your unit’s manual for specific blink patterns that distinguish between sensor faults and board-level failures.
Don’t forget: dirty filters can cause your RV AC to blow warm air, frozen coils can lead to warm air, and low refrigerant levels can cause warm air too. Rule those out before focusing on the board.
Step-by-Step Checklist Before Blaming the Control Board
Safety first: disconnect all power before removing covers. Many apparent board issues are really basic power or thermostat problems.
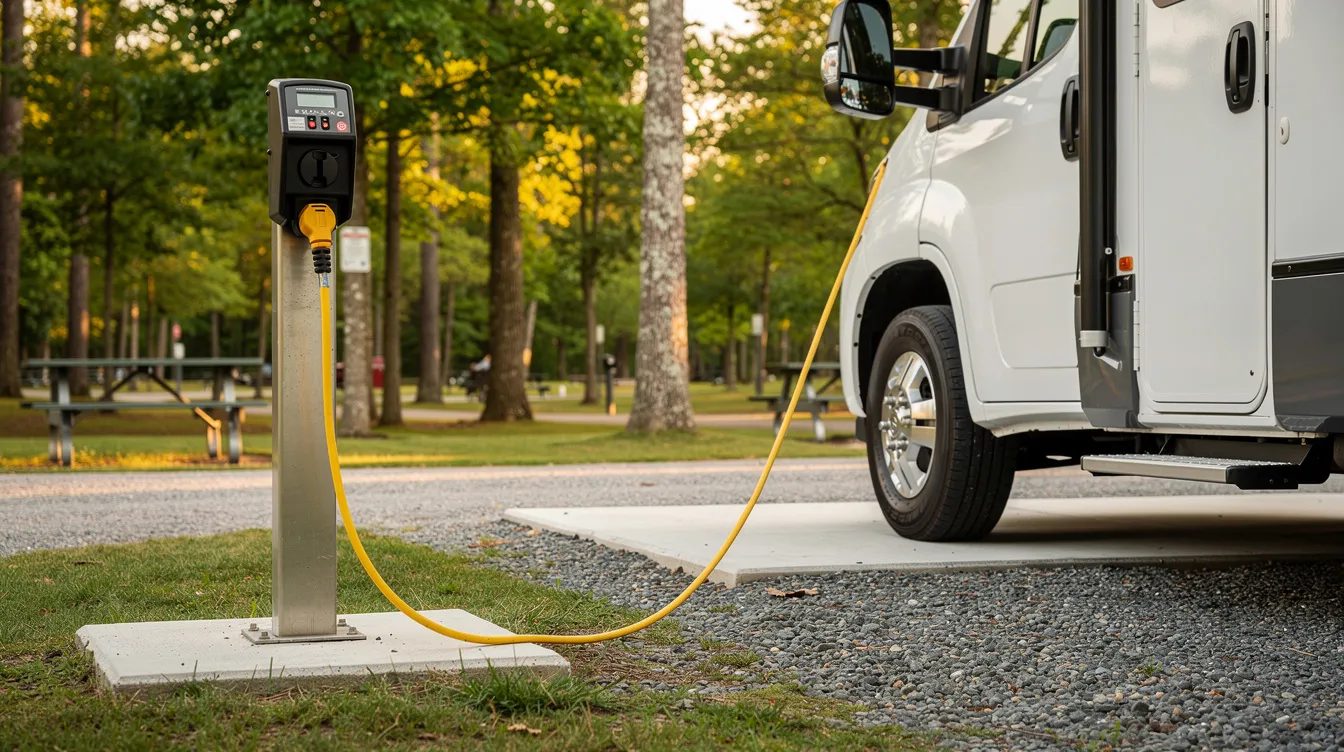
Check campground voltage. Use a plug-in meter to verify roughly 108–132V at the pedestal. Low campground voltage can impact AC performance significantly.
Inspect breakers and fuses. Check for tripped breakers or blown fuses in both the RV distribution panel and any 12V fuses serving the thermostat. Tripped breakers are a common RV AC issue.
Confirm the thermostat call. Set it to “Cool,” fan on “Auto,” target at least 5–10°F below room temperature. Inspect wiring at the thermostat and rooftop unit for loose or corroded connections. Corrosion on connectors can affect communication between the thermostat and control board. Thermostat placement can also affect AC short cycling if it is near a heat source.
Check airflow. Dirty filters can block airflow and reduce cooling efficiency. Weak airflow can result from clogged filters or blocked ducts, and ice build-up on the AC unit indicates restricted airflow. Evaporator coils can freeze due to restricted airflow. Musty odors from the AC often indicate mold in the drip pan.
Inspect capacitors. A bulging or leaking start/run capacitor can mimic control board failure-especially when the fan runs but the compressor will not start. High startup amps can also cause AC units to short cycle.
Look at wiring harnesses. Check for pinched, chewed, or overheated conductors leading to the rooftop unit. Regular inspection of wiring connections is crucial due to vibration-induced loosening.
If power, thermostat, wiring, and capacitors all check out, the control board becomes the prime suspect.
Diagnosing RV AC Control Board Problems Safely
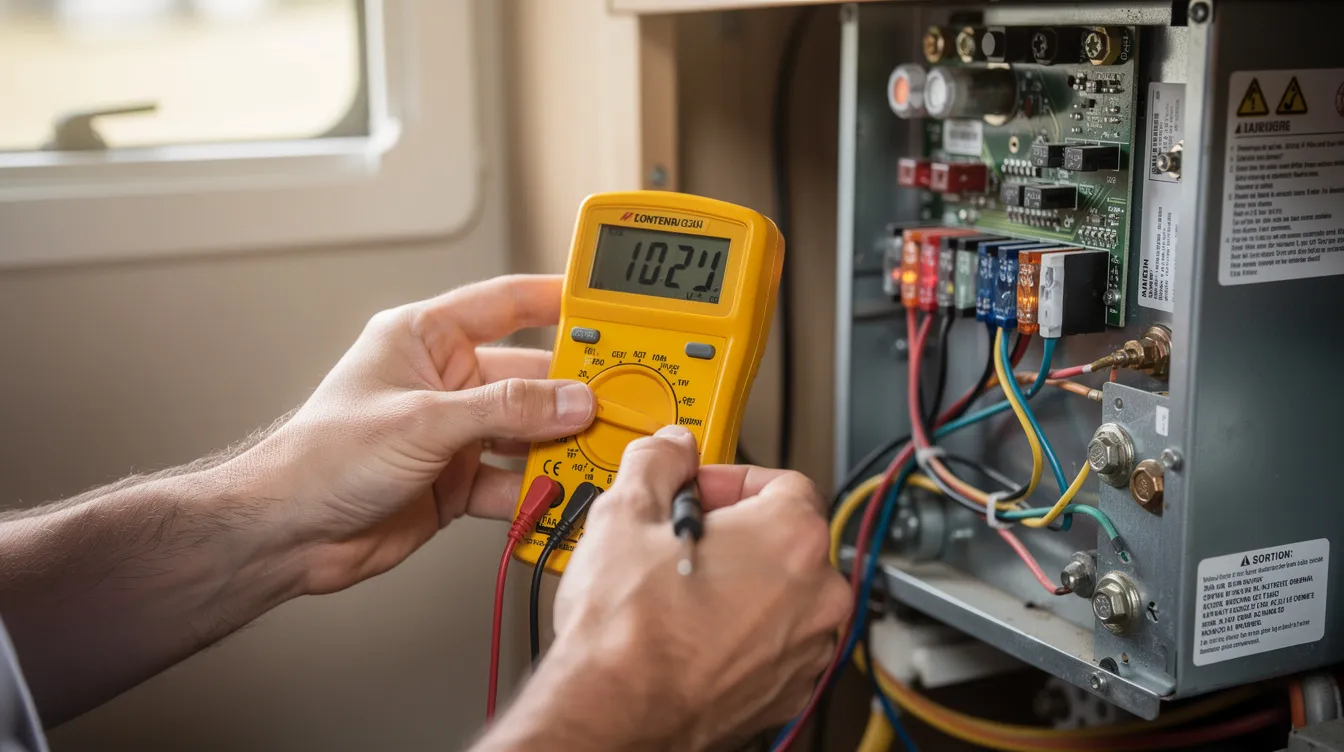
This section is a practical walkthrough. You will need a basic multimeter and your unit’s service manual.
Power down completely. Turn off shore power, shut down the generator, and disconnect batteries if necessary. Remove the rooftop shroud and interior AC cover to access the board.
Visual inspection. Look for burned traces, cracked solder joints, swollen electrolytic capacitors, discolored connectors, or corroded spade terminals on the control board.
Multimeter tests. With power restored carefully, confirm 120V reaches the AC unit’s input terminals and that the correct low-voltage signal arrives from the thermostat when “Cool” is selected.
Safety switches. Check continuity across any inline thermal cut-outs or high/low pressure switches that could prevent the board from energizing the fan or compressor.
Diagnostic LEDs. Use board fault codes to distinguish between sensor, thermostat, and board failures.
Resetting the system can clear temporary faults in control boards-turn off the breaker, unplug shore power, wait several minutes, then restore power. If the problem returns immediately, it is hardware related. The control board may need replacement if unresponsive after these checks.
If 120V is present at the board’s input but no output appears at the fan or compressor terminals during an active cooling call, the board has likely failed.
Replacing an RV AC Control Board: Process, Cost & Compatibility
Replacing a control board is a mid-level DIY job. If working around 120V wiring feels uncomfortable, call a technician.
Identify the correct part. Note your AC brand, model number, serial number, and the board part number stamped on the existing board. A board for a Coleman-Mach unit will not simply plug into a Dometic or Furrion unit.
Replacement process:
Disconnect all power and label each wire with tape
Photograph the existing wiring layout
Remove mounting screws and swap in the new board
Reconnect wires to matching terminals
Some newer digital thermostats require compatible control boards. Replacing only one component may demand a matched thermostat/board kit.
Cost ranges (2024–2025): Control boards typically run $80–$250 for parts, plus 1–2 hours of labor if installed by a service center, bringing totals to roughly $150–$500. Cleaning condenser fins during the repair can also help improve cooling performance. Double check everything before restoring power, then verify fan operation, compressor engagement, and stable cycling over a full cooling cycle.
Preventing Future RV AC Control Board Problems
Proactive electrical protection and basic maintenance dramatically extend board life.
Use a surge protector or EMS at the campground pedestal to safeguard against voltage spikes, reverse polarity, and brownouts.
Inspect rooftop seals annually to prevent leaks. Water leaking inside the RV can result from clogged drain holes that also funnel moisture toward electronics.
Clean or replace AC filters monthly during peak use. Restricted airflow increases compressor strain and heat, stressing the board indirectly.
Inspect all plug-in connectors and spade terminals yearly for corrosion. Tighten them to reduce arcing and heat buildup.
Schedule an annual inspection with a certified technician to catch problems early.
Installing a soft start kit can reduce short cycling and ease startup current draw, which helps protect both the compressor and the control board. Refrigerant leaks require professional repair to restore cooling and should not be ignored.
When a Control Board Problem Means It’s Time for a New AC Unit
While a control board fix can rescue many systems, sometimes the entire AC unit is past its efficient lifespan.
If your RV air conditioner is already 8–12+ years old with a history of compressor or fan issues, sinking money into a new board may just delay another failure. A practical rule of thumb: if the cost of board replacement plus other needed parts approaches 40–50% of a new rooftop unit ($600–$1,800 depending on type), consider upgrading instead.
Newer units often deliver better efficiency, quieter operation, and improved digital control boards with more robust surge protection. Keep documentation of every repair-dates, parts replaced, failure symptoms-so you can make a data-driven decision when the next problem arises. Cleaning condenser fins can improve performance on older units, but it will not solve compressor wear or failing fan blades.
Stay cool by knowing when to repair and when to replace.
FAQ
These FAQs cover side questions RV owners often have about RV AC control boards beyond what the main sections addressed.
How long does an RV AC control board typically last?
Lifespan varies widely-anywhere from 5 to 15 years-depending on usage frequency, how clean and dry the rooftop assembly stays, and how well the rig is protected from bad campground power. Frequent exposure to low voltage, surges, or moisture can shorten board life, while consistent use of a surge protector and annual inspections help boards last closer to the upper end of that range.
Can I reset an RV AC control board without replacing it?
Many boards effectively reset when power is fully removed: turn off the breaker, disconnect shore power, and wait a few minutes before restoring power. Some digital systems have specific reset sequences in the owner’s manual, like holding thermostat buttons for several seconds. If problems immediately return after a reset, the underlying fault is likely hardware related.
Is it safe to bypass the control board to run my RV air conditioner?
Bypassing the control board to force the compressor or fan on is not recommended and can be dangerous if done incorrectly. Temporary test jumps are sometimes used by technicians for diagnosis, but they know how to avoid disabling safety features. Owners should leave any bypass testing to professionals who can respond to unexpected issues safely.
Do all RV AC units use the same type of control board?
Control boards are brand- and model-specific. A board designed for a Coleman-Mach unit will not plug into a Dometic or Furrion AC unit. Always verify part numbers or use the manufacturer’s cross-reference charts to ensure the replacement board is compatible with both the rooftop AC and the thermostat before you order.
When should I call a professional for RV AC control board problems?
Call a qualified RV technician or HVAC pro if you are not comfortable working around 120V circuits, do not have a multimeter, or see severe damage such as charred disconnected wiring or melted connectors. Professionals are especially valuable when multiple issues overlap-such as a suspected refrigerant leak plus electrical faults-so the whole system can be evaluated rather than replacing parts blindly. Watch for videos from your AC manufacturer’s support channel that can help you describe symptoms accurately when you contact a shop.